If you elected to download the content-protected file(s) and decrypt the file(s) after the download has completed, then you will receive a status message in the Connect Transfers window telling you to Unlock encrypted files, along with a link to the Aspera decryption utility.
Note that when encrypted items have been downloaded to your computer, they will display the extension aspera-env (Aspera Security Envelope). You may also access this utility by going to .
If you launch this utility from the Aspera Connect menu, you must follow Step 1, below. If you launch the utility from the Transfers window, then skip to Step 2.
-
(Skip if launching from the Transfers window) Select the Unlock encrypted
files option from the Aspera Connect application menu.
After clicking this option, the decryption utility window will appear (called Aspera Crypt).
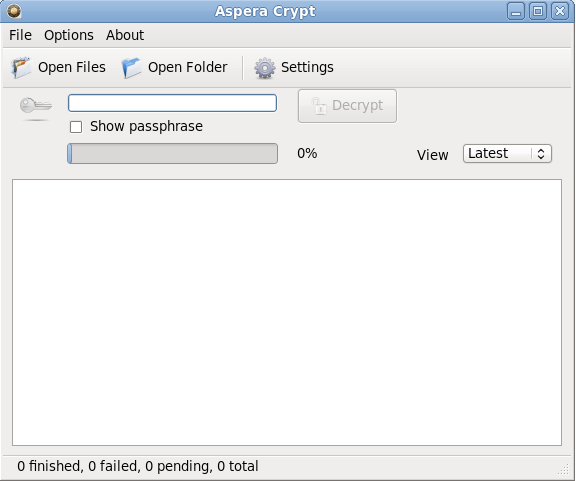
After launching Crypt, click the Open Files or the Open Folder button to browse for your file(s). Use the Open Files button to locate your content-protected file(s), and the Open Folder button to locate a folder containing content-protected file(s). When your encrypted contents are loaded into Crypt, a status message will appear at the bottom of the application that displays the number of items ready for decryption.
-
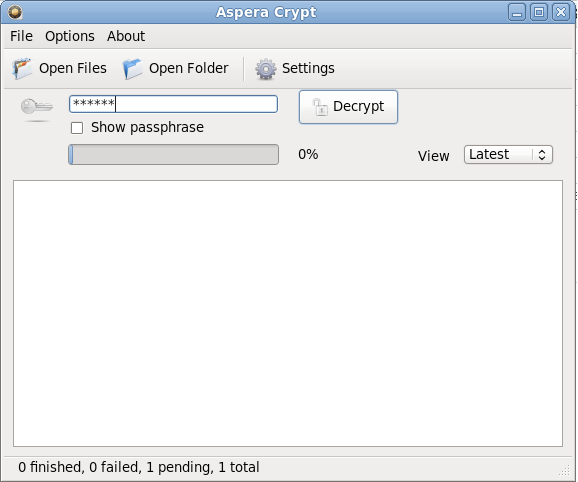
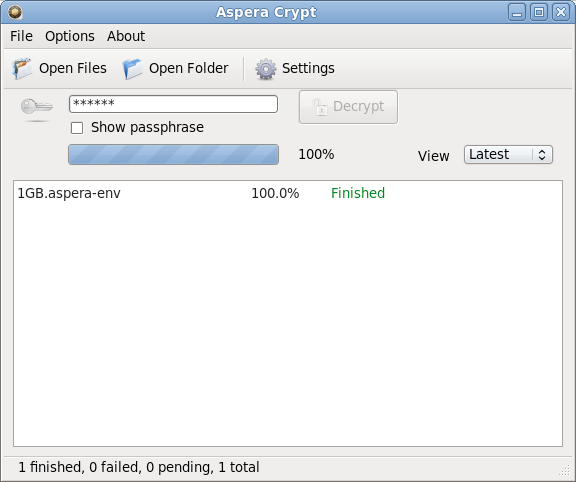
Input your passphrase and click the Decrypt button
After browsing for your contents, enter your passphrase in the text field. Your passphrase will be masked, unless you enable the Show Passphrase checkbox. Once files are loaded and the Decrypt button is activated, click it to decrypt your content.
-
View output and confirm decryption
Once your file(s) have been successfully decrypted, you can view the output in the Aspera Crypt viewing window.
The decrypted contents will appear in the same directory as the original encrypted contents. Note that “(decrypted)” is added to the file name any time the decrypted file (without the .aspera-env extension) already exists in the same folder.
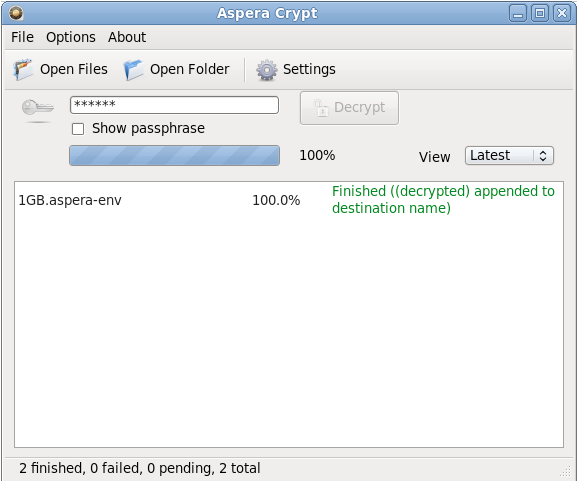
If your Crypt viewing window has multiple decrypted items listed, you can use the View drop-down list to sort the items by latest, finished or failed.