This section explains the installation process for the IBM Aspera Connect Browser Plug-in on your system. Connect can be installed on your system through the Web installer or downloadable DMG. See the corresponding sections below.
- Before performing a system-wide installation (all users of the machine), uninstall any per-user installations. For details, see Uninstalling Connect.
- Eject all previous Connect installers before downloading the new installer.
- Quit any open browsers before continuing with the steps below.
The Connect Web Installer
Use your browser to navigate to your Aspera Web application (i.e. IBM Aspera Faspex, IBM Aspera Connect Server or IBM Aspera Shares). Once you have reached the server's Web page, you will see an Install Now button (or Upgrade Now button if you have an older version of Connect installed on your system). Depending on your operating system and browser, clicking on this button will either launch the automatic installer or redirect you to the Connect download page (for manual installation). Follow the on-screen instructions to complete the installation process. If your browser displays a security prompt/warning, click Allow or Continue to proceed.
The Connect Desktop Installer
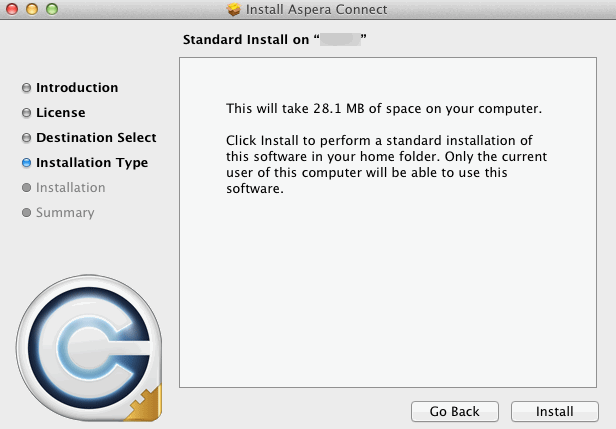
You can download the Connect DMG directly from http://www.asperasoft.com/download_connect/. Once downloaded, run the installer on your machine. You will need to accept the terms and conditions and click Install.

After Installation
Once Connect has finished installing, you can open it from the following location:
Macintosh HD > Applications > Aspera Connect
OR
Macintosh HD > Users > home_directory > Applications >Aspera Connect
