If required, configure network proxies or override network speeds through the Connect GUI.
If you need to configure any network proxies or override network speeds, you can do so through Connect's Network option. Before modifying Connect's network configuration, review the network requirements below, which describe ports that may need to be open on your network (such as ports 22 and 33001).
Network Requirements
Your SSH outbound connection may differ based on your organization's unique network settings. Although TCP/22 is the default setting, consult your IT department for questions related to which SSH port(s) are open for file transfer. Also see the Help documentation for your particular operating system, for specific instructions on configuring your firewall. If your client host is behind a firewall that does not allow outbound connections, you must allow the following:
- Outbound connections for SSH, which is TCP/22 by default, although the server side may run SSH on another port (check with your IT department for questions related to which SSH port(s) are open for file transfer).
- Outbound connections for FASP transfers, which is UDP/33001 by default, although the server side may run FASP transfers on one or more other ports (check with your IT department for questions related to which port(s) are open for FASP transfers).
Limit Transfer Rates
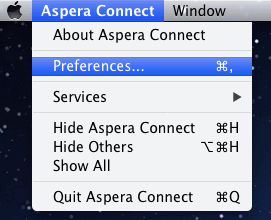
Launch Connect ( Macintosh HD > Applications > Aspera Connect OR Macintosh HD > Users > home_directory > Applications > Aspera Connect) and open Preferences ( Menu bar > Aspera Connect > Preferences).

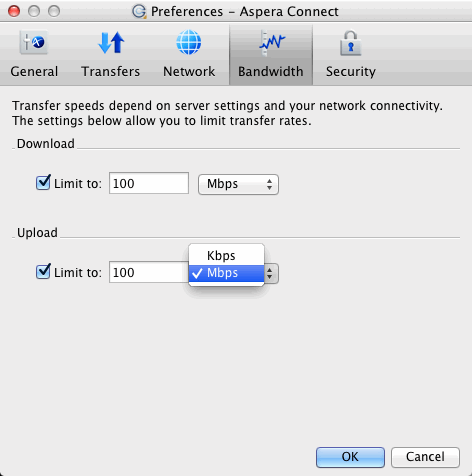
You can limit Connect's transfer rates via the Bandwidth option.

You may limit the download and/or upload transfer rates by enabling the respective checkboxes and inputting a rate in either Mbps or Kbps. Note that your ability to limit these rates depend on the following factors:
- Your network's bandwidth: Available bandwidth on your network may limit your transfer rate, even if you enter larger numbers into these fields.
- Your Aspera server transfer settings: Settings on your server may limit your transfer rate even if your network bandwidth and the numbers you enter are larger.
HTTP Fallback Proxy
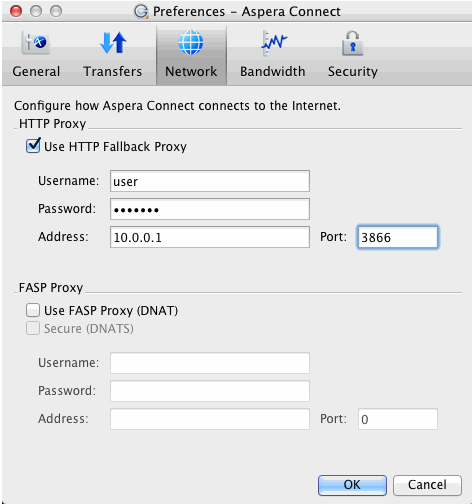
The HTTP fallback proxy should only be used for fallback transfers, not for FASP transfers. To set up an HTTP fallback proxy, go to Preferences > Network in Connect.

Under the HTTP Proxy section, you can modify the proxy configuration for the server handling HTTP fallback. HTTP fallback serves as a secondary transfer method when the Internet connectivity required for Aspera accelerated transfers (i.e., UDP port 33001, by default) is unavailable. If UDP connectivity is lost or cannot be established, then the transfer will continue over the HTTP protocol based on this proxy configuration.
To configure an HTTP fallback proxy, enable the Use HTTP Fallback Proxy checkbox and input your settings. These settings include NTLM authentication credentials (username and password), as well as the host name/IP address and port number.

FASP Proxy
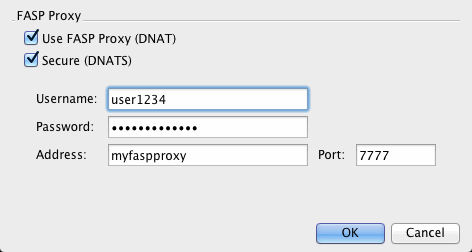
When FASP proxy is enabled, Aspera will pass the DNAT or DNATS (secure) username, server address and port to ascp. To set up a FASP proxy, go to Preferences > Network in Connect.

To configure a FASP proxy, enable the following checkbox(es):
- Use FASP Proxy (DNAT)
- Secure (DNATS)
Upon selecting the checkbox(es), input your proxy server username, password, address and port number.
