Security Configuration
IBM Aspera Connect features the following capabilities for minimizing security risks when uploading or downloading files:
The settings above can be configured in the Connect Preferences dialog. If Connect is already running, go to System Tray > Right-click Aspera Connect > Preferences. If it is not running, you can execute the application manually with the following command:
$ ~/.aspera/connect/bin/asperaconnect &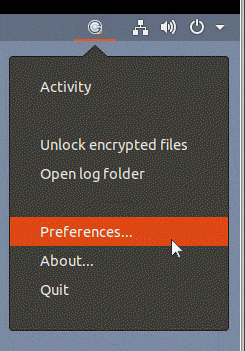
Managing Hosts
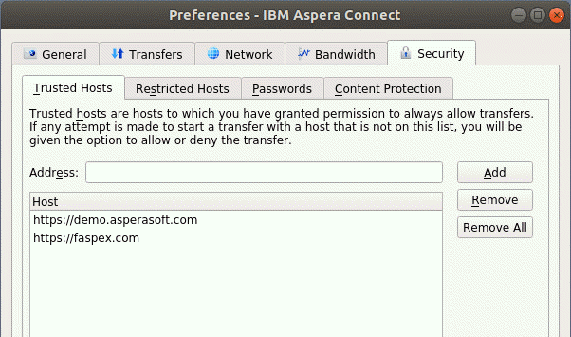
When a transfer is initiated and the Use my choice for all transfers with this host option is enabled in the confirmation dialog, the server that you are allowing or denying will be added to the Trusted Hosts or Restricted Hosts list, respectively. To view, add or remove additional trusted hosts, go to Security > Trusted Hosts. Enter the host's address in the specified text field and click Add.
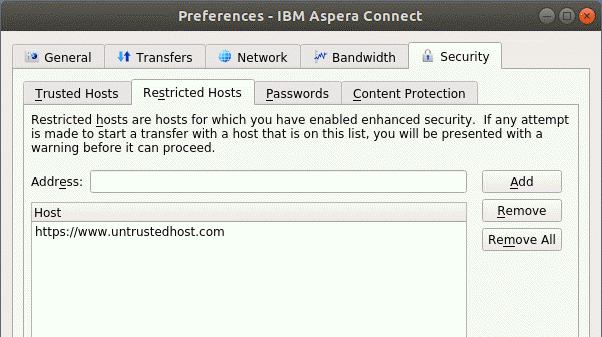
To view, add or remove restricted hosts, go to Security > Restricted Hosts. Here, enter the host's address in the specified text field and click Add.
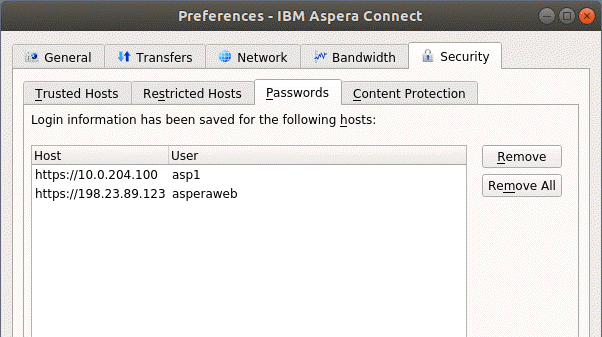
To view, add, or remove saved password information for a host, go to Security > Passwords. Here, you can remove saved login credentials; however, you cannot add credentials to this list directly. Whenever you attempt a transfer with a server where your credentials are not saved, you are prompted with an authentication dialog and offered a Remember this password checkbox. Marking the checkbox causes your login credentials to be saved and appear in this tab.
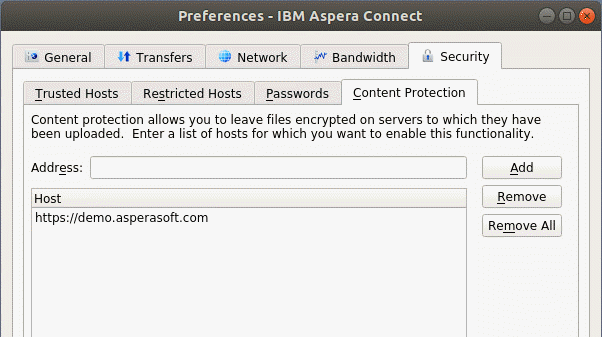
Content Protection
To specify hosts to which you want all uploads to be encrypted, open the Content Protection tab under Security. In the Address field enter the Aspera server address and click Add. The server is then added to the list.
When uploading files to a server on the list, or one that is configured as a content-protected host, you are prompted for a passphrase to encrypt the files. You can also choose not to encrypt files if the server allows it.
For details on encryption and decryption, see File Encryption.