Basic Configuration
The Connect Preferences dialog allows you to configure logging behavior and various options for file transfers, such as transfer queuing, file download location, and the allowed number transfer retries.
To change the application's default settings, launch Connect as follows:
- Start > All Programs > Aspera >
 Aspera Connect
 - On Windows 10,
 >
>  > Aspera > Aspera Connect.
Open Preferences:
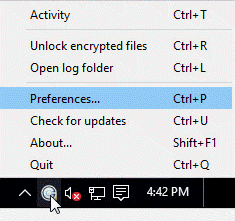
From the system tray: Right-click ![]() >
Preferences
>
Preferences
General Preferences
Connect's general application behavior can be configured in the General tab.
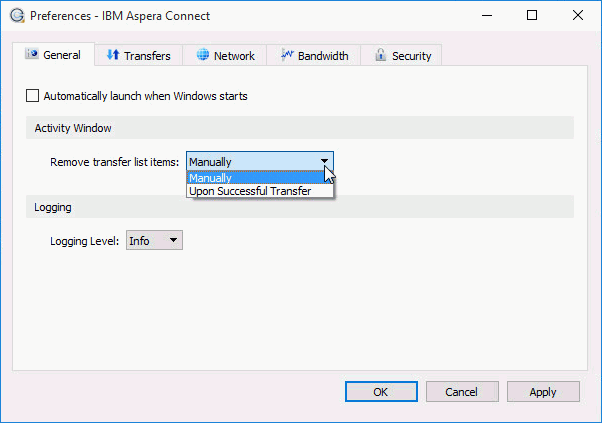
Under the General tab, you can modify the following settings:
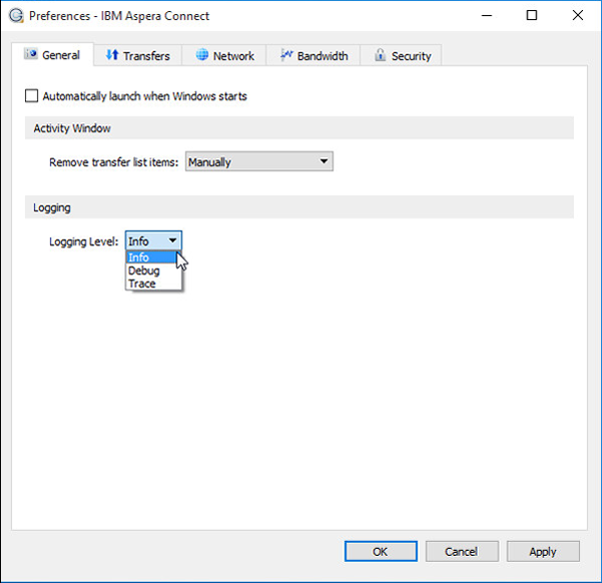
The logging feature is typically used for troubleshooting and when contacting IBM Aspera Support.
Transfer Preferences
Connect's transfer behavior can be configured under Preferences > Transfers.
Downloads
By default, Connect downloads files to the current user's Downloads folder. To change this setting, adjust the following settings:
- Save downloaded files to – Specify the path to the location where downloaded files should be saved.
- Always ask me where to save downloaded files – Choose this option to select a location for each download.
Queue
- Enable queuing – Enable or disable the queuing of transfers.
- Maximum concurrent transfers –This allows a specified number of transfers to run concurrently and places the remainder in a queue.
Retry
You can set a retry rule if a transfer fails. Set the retry rule as follows:
- Automatically retry failed transfers – enable or disable.
- Attempts – specify the number of times Connect should attempt to retry a failed transfer.
- Interval – specify the amount of time that Connect should wait before retrying a transfer (in seconds, minutes, or hours).