Note: This topic describes setting up transfer user accounts with the GUI. If you are setting up users in a terminal, see Setting Up Transfer Users (Terminal).

Your Aspera server uses your system accounts to authenticate connections. These system accounts must be added and configured before attempting an Aspera transfer. When creating transfer accounts, you may also specify user-based settings, including those for bandwidth, document root (docroot) and file handling.

Note: You must create systems accounts for transfer users before they can be configured on your Aspera server. After these system accounts have been created and initialized on your local host, follow the steps below to configure their transfer accounts.

  1. Set up the system user for Web UI authentication.

    On top of SSH authentication, Connect Server uses Apache's authentication to authorize Web UI access. To set up a system user for Apache authentication (asp1), use the htpasswd command to set up the user for Web UI.

    $ htpasswd /opt/aspera/etc/webpasswd asp1

    NOTE: If you have Apache 2.4.4, the above command may not work. You are prompted to enter a password, but you may get authentication errors when attempting to view the site. As a workaround to this bug, run htpasswd with the -b option and enter the password on the command line, as follows:

    $ htpasswd -b /opt/aspera/etc/webpasswd asp1 password

    Caution: Use the -c option only if this is the first time running htpasswd to create the webpasswd file. Do not use the -c option otherwise.

  2. Restrict user permissions with aspshell.

    By default, all system users can establish a fasp connection and are only restricted by file permissions. You can restrict the user's file manipulation operations through the aspshell, which permits only the following operations:

    • Run Aspera uploads and downloads to or from this computer.
    • Establish connections in the application and browse, create, delete, rename or list contents.

    The following instructions demonstrate how to change a user account so that it uses the aspshell. Keep in mind that this is an example, and there may be other ways to do so for your system. Open the following file with a text editor:

    /etc/passwd

    Locate the entry for asp1. For example:

    ...
    asp1:x:501:501:...:/home/asp1:/bin/bash
    ...

    Replace the user's shell, in this case /bin/bash, with /bin/aspshell (or add the shell setting if it does not already exist:):

    ...
    asp1:x:501:501:...:/home/asp1:/bin/aspshell
    ...

    You can also restrict a user's file access with Document Root (docroot) settings. The instructions are explained in the following steps.

  3. Add a system user to your Aspera server.

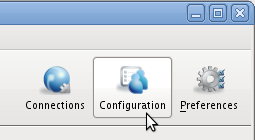
    Input asperascp in a Terminal (as a root user) to launch the application, and click Configuration.

    Click the Configuration.

    In Server Configuration, select the Users tab and click the Add user button.

    Add the test user.
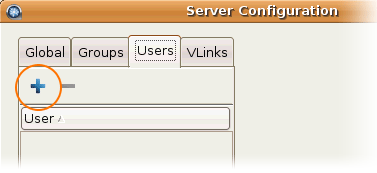
  4. Set up user's docroot.

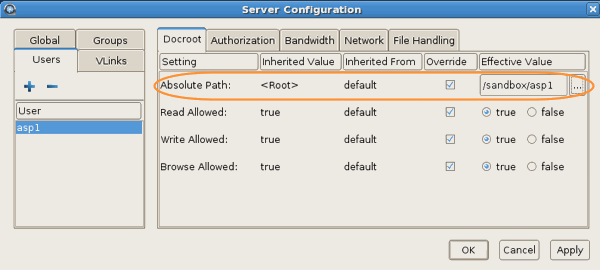
    You can limit a user's access to a given directory using the document root (docroot). To set it up, click Configuration>UsersusernameDocroot. Check the Override box for Absolute Path and enter or select an existing path as the user's docroot -- for example, /sandbox/asp1. Make sure that at least the Read Allowed and Browse Allowed are set to true. Click OK or Apply when finished.

    Set up the docroot.

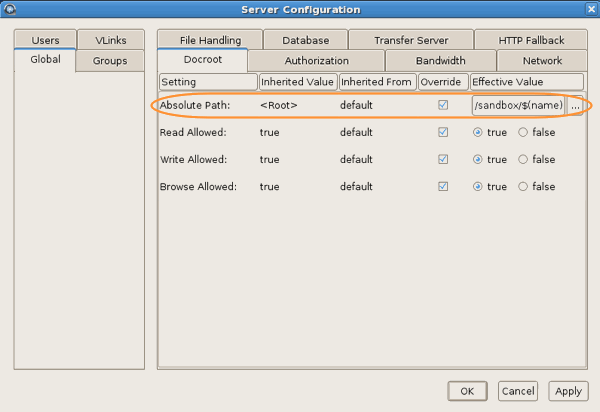
    If there is a pattern in the docroot of each user, for example, /sandbox/username, you can take advantage of a substitutional string. This allows you to assign an independent docroot to each user without setting it individually for each user.

    Substitutional String Definition Example
    $(name) The system user's name. /sandbox/$(name)

    Set up a docroot with a substitutional string as follows: in the Server Configuration dialog, select the Global tab and the Docroot tab, and enter the docroot into the Absolute Path field. This value will be duplicated in all user settings.

    Use the substitutional string for the docroot.