Setting Up Users

Set up system user accounts for fasp file transfers.

Warning: If you have upgraded from 2.7.X to 3.X on Windows, please be aware that user names are now case sensitive.

Your Aspera server uses your system accounts to authenticate connections. These system accounts must be added and configured before attempting an Aspera transfer. When creating transfer accounts, you may also specify user-based settings, including those for bandwidth, document root (docroot) and file handling.

Note: You must create systems accounts for transfer users before they can be configured on your Aspera server. After these system accounts have been created and initialized on your local host, follow the steps below to configure their transfer accounts.
  1. Add a system user to your Aspera server.

    Launch the application (Start menu > All Programs > Aspera > Enterprise Server > Enterprise Server) and click Configuration.

    Click the Configuration.

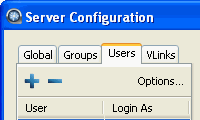
    In Server Configuration, select the Users tab and click the Add user button.

    Add the test user.
  2. Enter user's name and optional domain, and set login requirement.

    Within the "Add User" box, input the user's name and optional domain, then click OK. Note that for domain users, you can set a requirement that they must log into their accounts using the DOMAIN\username format (which is also recommended by Aspera). To set this requirement, click the Options... button under the Users tab in the Server Configuration window. Enable the checkbox to set the requirement for new users and/or click the Convert existing users... button to set the requirement for existing domain accounts.

    Add the test user login requirement.
    Note: You cannot add a username with an "@" symbol, except when using the "user@domain" format. For additional information, please view the topic "Product Limitations."
  3. Set up user's docroot.

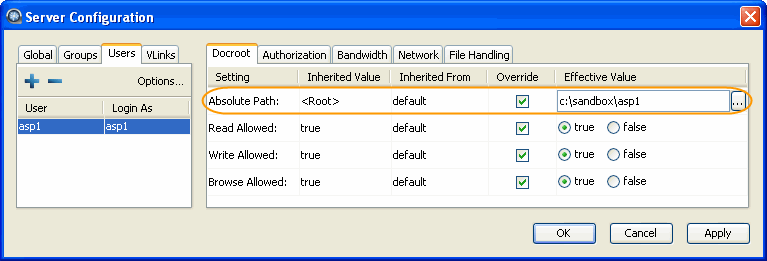
    You can limit a user's access to a given directory using the document root (docroot). To set it up, click Configuration>UsersusernameDocroot. Check the Override box for Absolute Path and enter or select an existing path as the user's docroot -- for example, C:\sandbox\asp1 . Make sure that at least the Read Allowed and Browse Allowed are set to true. Click OK or Apply when finished.

    Set up the docroot.

    If there is a pattern in the docroot of each user, for example, C:\sandbox\username, you can take advantage of a substitutional string. This allows you to assign an independent docroot to each user without setting it individually for each user.

    Substitutional String Definition Example
    $(name) The system user's name. C:\sandbox\$(name)
    $(DOMAIN) The domain user's domain name. C:\sandbox\$(DOMAIN)\$(name)

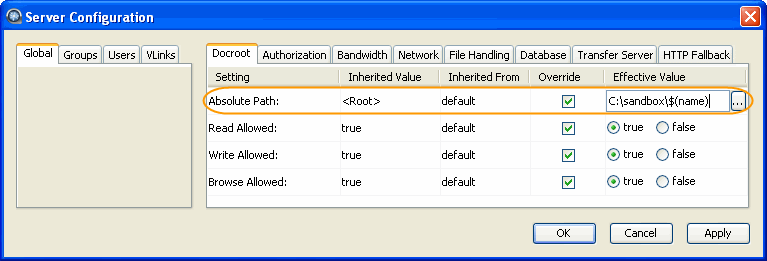
    Set up a docroot with a substitutional string as follows: in the Server Configuration dialog, select the Global tab and the Docroot tab, and enter the docroot into the Absolute Path field. This value will be duplicated in all user settings.

    Use the substitutional string for the docroot.