The file transfer server is accessible as a drive in Windows Explorer, and you use standard Windows Explorer functions for moving and copying files between the server and your local machine.
-
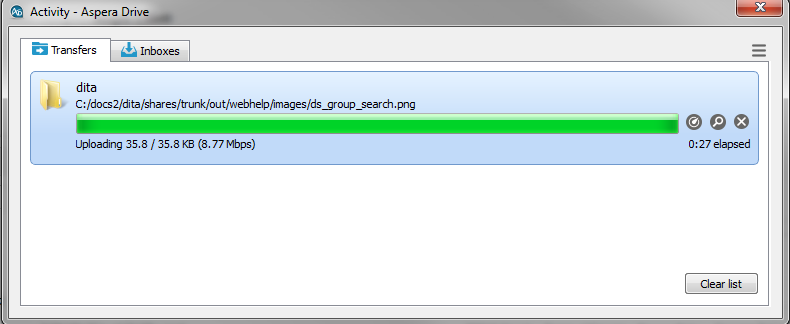
You can check the transfer status of a file or folder from the Aspera Drive
Activity window. Depending on your settings, the
Activity window appears, or you can right-click the
Aspera Drive icon in the system tray and click
Activity.
In the following image, the Activity window shows the transfer of dita has completed.

Opens the Transfer Monitor for more in-progress detail about the transfer. 
Opens a Windows Explorer window to the transfer destination folder (the "containing folder"). 
Stops an in-progess transfer. 
Resumes a transfer. Note: If a transfer is reported as complete, and the file or folder does not appear in the Windows Explorer window, refresh the Windows Explorer window.