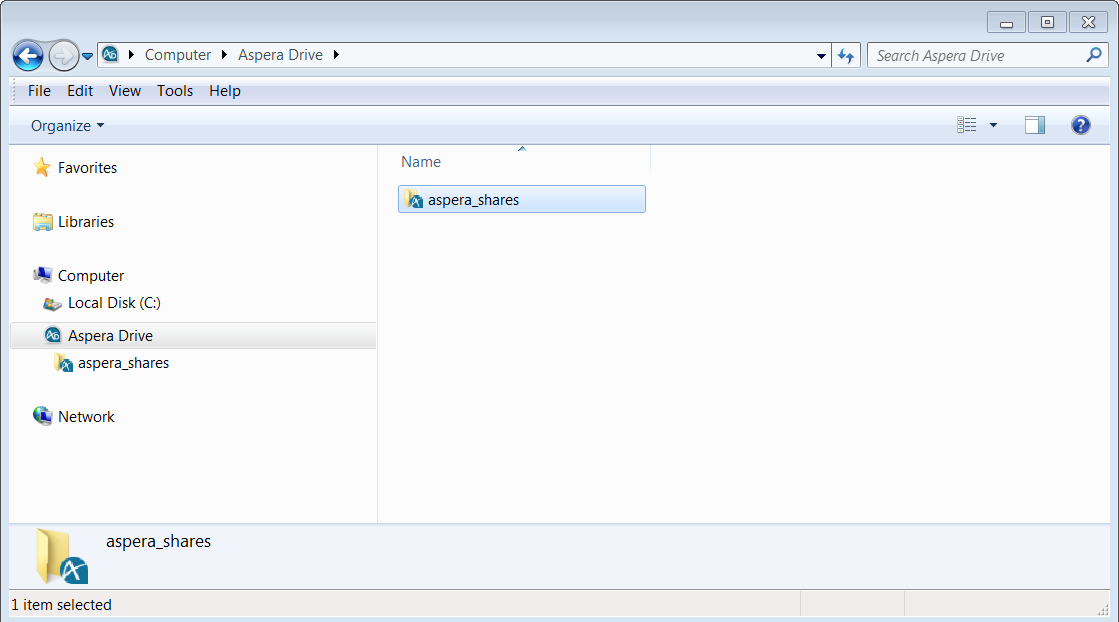
The file transfer server is accessible as a drive in Windows Explorer, and you use standard Windows Explorer functions for moving and copying files between the server and your local machine.
-
In Windows Explorer, navigate to Computer > Aspera
Drive. The folders under Drive represent the accounts you have
created.
-
Verify the status of your transfer:
If it is not already open, open the Drive Activity window. On the Transfers tab, in the list of transferred files and folders, view the status of your transfer.
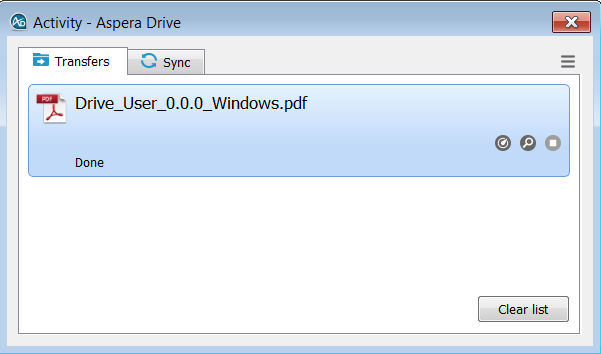 You can see its status during a transfer, or after it has completed.The buttons on the Activity window's Transfers tab have the following meanings:
Opens the Transfer Monitor for more in-progress detail about the transfer. In the Transfer Monitor, you can adjust the transfer rate (if allowed).

Opens a Windows Explorer window to the transfer destination folder (the containing folder). 
Stops an in-progess transfer. 
Resumes a stopped or suspended transfer. 
Retries a failed transfer. Note: If a transfer is reported as complete but the file or folder does not appear in Windows Explorer, refresh the Windows Explorer window.