Sending Packages with Faspex

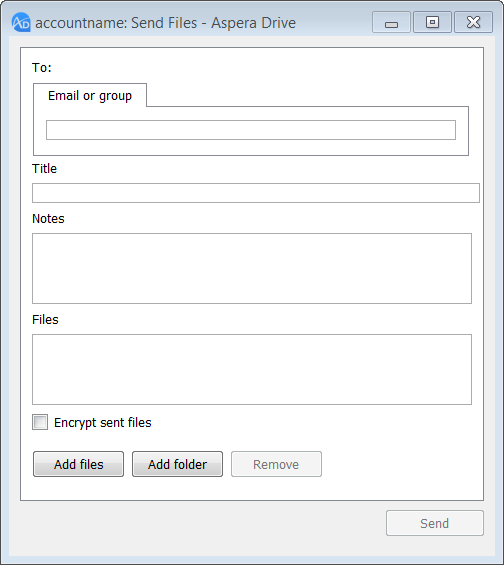
  1. Open the Send Files dialog by doing one of the following:
    • In Windows Explorer, right-click the files or folders you want to send and select Aspera Drive > Send files .
    • If you have the Drive Activity window open, click and select Send files.


  2. In the Send Files dialog, enter the following:
    Field or Button Description
    To The recipient of the package (required).
    Title A short, relevant title for the package (required).
    Notes A short message to the recipient of this package.
    Encrypt sent files Select this check box if you want to encrypt files before sending them. When you select Encrypt sent files and click Send Package, you are prompted to enter and confirm a passphrase.

    When you send encrypted packages, you must provide the recipients with the encryption passphrases so that they can decrypt packages after they receive them.

    Files A list of the files and folders in the package that will be sent.
    To add items to this list, click Add files or drag and drop from Windows Explorer into the Send Files dialog.
    Note: If the content is a shortcut to a folder, the behavior is different with Add Files versus drag-and-drop: If you use Add Files to add a shortcut to the package, the package contains the folder itself (and its contents). If you use drag-and-drop to add the shortcut to the package, the package contains a shortcut to the folder.
    Add files Click Add files to add a file or files to the package for transfer.
    Add folder Click Add folder to add a folder to the package for transfer.
    Remove To remove an item from the package to be sent, select it in the Files list and click Remove.
  3. Click Send to send the package.

The Drive Activity window's Transfers tab opens to display the progress of the file transfer.