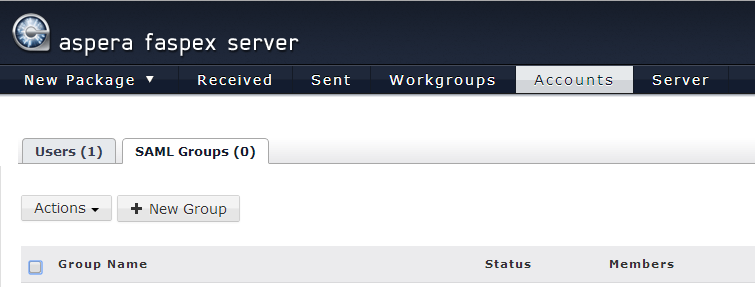
When SAML is enabled, you can create SAML groups by navigating to and clicking New Groups.
-
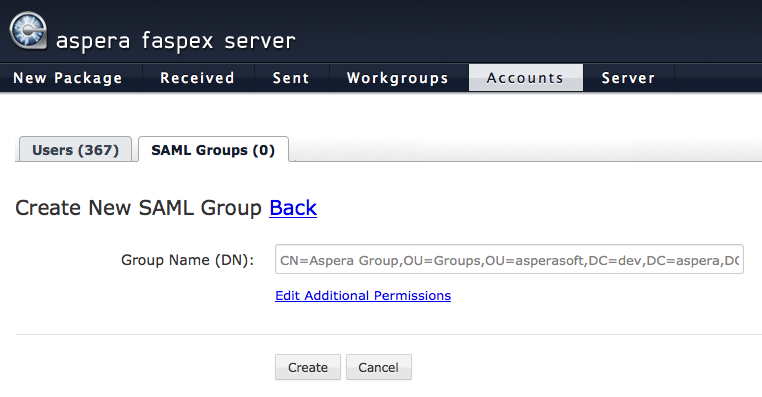
Enter the group name, which is the distinguished name (DN).
-
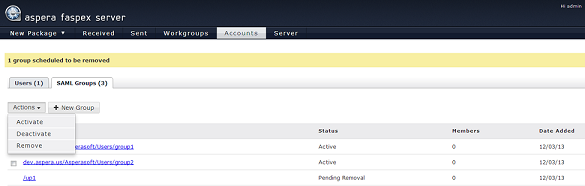
Click Actions to activate, deactivate, or remove
existing groups. The Sync option is not available for SAML groups.
Note: If a user belongs to only one group and that group is deactivated, the user cannot login anymore. However, if a user belongs to multiple groups and at least one of these groups is active, the user is able to log in.