Logging In

You must provide an Aspera entitlement license to use IBM Aspera Shares on Demand.
Note: Each machine instance requires a separate entitlement key, but you can enable multiple web applications on the same instance with the same entitlement key. If your instance includes both IBM Aspera Console on Demand and IBM Aspera Shares on Demand, completing the entitlement process for one enables the entitlement for both. Once the entitlement has been enabled from either application, it may take a few minutes for the other application to recognize the change.
  1. Enter the On Demand server URL in your web browser and log in.

    When you access the URL, your browser may notify you of an untrusted connection. If this occurs, follow the on-screen instructions to accept the security certificate.

    On the login screen, enter your username and password.


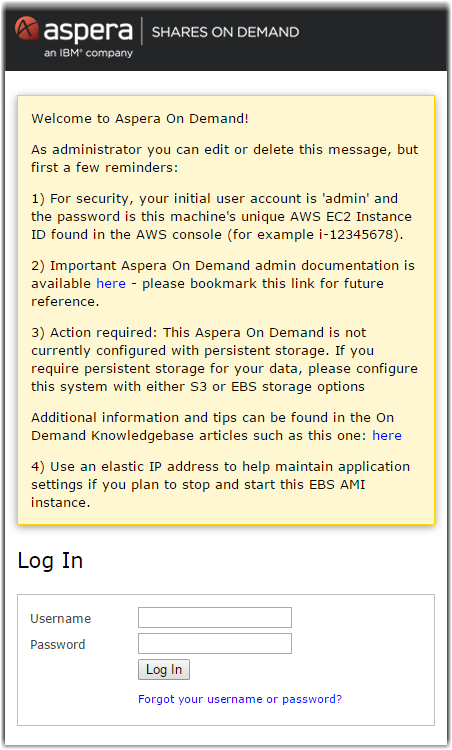
When logging in for the first time, enter your entitlement key to allow access to Shares on Demand. For more details, see Updating the Entitlement Key.

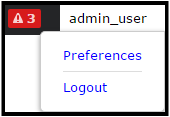
  1. Update your account information.
    Once you are logged in and the app is enabled with a valid entitlement, click your username and select Preferences.

  2. Back up and restore Shares On Demand.

    Backup: To back up Shares, including its database, run the following script as root. The script stops Shares services, backs up all necessary files, and restarts Shares:

    # /opt/aspera/shares/u/setup/bin/backup your_backup_dir 

    For example:

    # /opt/aspera/shares/u/setup/bin/backup /tmp
    Creating backup directory /tmp/20130627025459 ...
    Checking status of aspera-shares ...
    Status is running
    mysqld is alive
    Backing up the Shares database and config files ...
    Backing up the SSL certificates ...
    Done 

    Make a note of the ID of the created backup directory. (In this example: 20130627025459.)

    Restore: To restore Shares, run the following script as root. The script stops Shares services, restores Shares data, and restarts Shares.

    # /opt/aspera/shares/u/setup/bin/restore your_backup_dir/backup_id 

    For example, using the ID of the saved directory in the above backup example:

    # /opt/aspera/shares/u/setup/bin/restore /tmp/20130627025459
    Checking status of aspera-shares ...
    Status is running
    mysqld is alive
    Restoring the Shares database and config files ...
    Migrating the Shares database ...
    Initializing the Shares database ...
    Configuring the stats collector to poll all nodes ...
    Restoring the SSL certificates ...
    Done