You can configure Console to display the locations of your nodes on the dashboard
map.
Go to Configuration > Map.
Select or upload a map image for use on the Console dashboard.
Upload a new map image: Click Upload Map File. Upload the file
and then click select. For best results, Aspera
strongly recommends using an image with a ratio of 16:9 (for example, 800 x
450).
Select existing map image: Choose one of two default map images or any
previously uploaded image as the dashboard map by clicking the
select link.
Note: To delete a map image you have uploaded, click the
delete link.
Configure node to show on map.
Edit your node and click the Map tab. Select Show on
Map. Click and drag the green icon to its proper location on the
map.
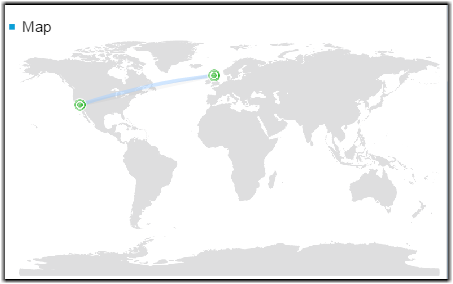
The configured nodes appear on the map on the Dashboard. Ongoing transfers between nodes are
represented by a line between the nodes.