Enabling SoftLayer Storage Using Console

IBM Aspera On Demand can use SoftLayer storage for a node transfer user. Use this user to transfer files to and from your SoftLayer storage.
CAUTION:
When transferring files larger than 64 MB to SoftLayer storage, an .aspera-segment directory is created at the destination. Do not move this directory or modify any files in it. Doing so may cause corruption or loss of data.
  1. Go to Nodes and click the edit button for the node.
  2. Go to Accounts and click edit for the account to configure with SoftLayer access.
    Note: You can also create a new account by clicking on the Add User button. For information on how to add a new account, see Editing the User or Group on a Node.
  3. Enter the SoftLayer docroot.

    Expand Docroot, click Override, and paste the SoftLayer docroot for that user using the following syntax:  

    swift://username:api key@Object Storage URI/bucket_name?aspera.swift.endpoint.auth-path=%2Fauth%2Fv1.0


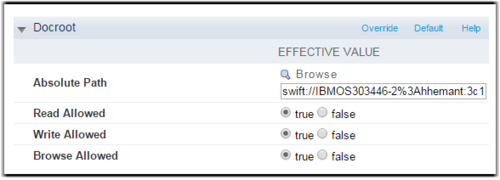
    Use URL encoding for special characters. For example, encode the colon ( : ) by replacing it with %3A.

  4. Click on the Save Changes button.
  5. Restart asperanoded on the node.
    SSH into the node and run the following command:
    # service asperanoded restart
  6. Test your configuration. Perform a test transfer using an Aspera client to the account configured with the SoftLayer object storage docroot. For information on starting a transfer, see Starting a Simple Transfer.