Testing the Web UI
Once your HST Server web UI is set up and your server is running, test web UI-initiated transfers. Users must be configured with a docroot and a token encryption key before they can access the web UI.
-
Configure an Aspera transfer user in HST Server.
Linux users can configure the transfer user in the GUI or from the command line.
GUI:
-
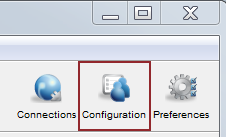
Click Configuration.
-
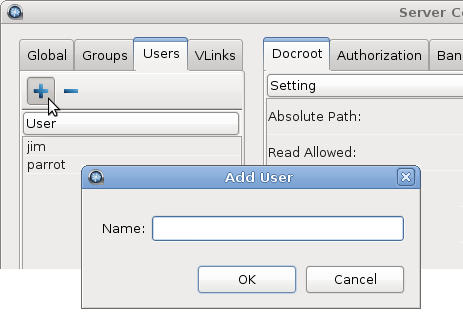
In Server Configuration, click the
Users tab, and click
 to add a user.
-
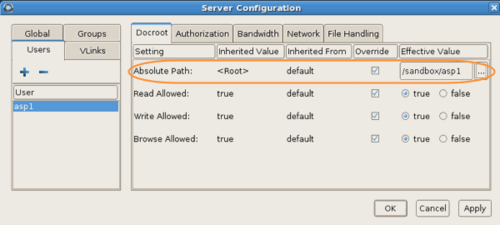
Click the user's Docroot tab and in the
Effective Value field for Absolute
Path, enter or select an existing path as the user's
docroot.
For example, /sandbox/aspera_user_1.Note: The system user must have read and write permissions to the assigned docroot.
Command Line:Set default values to authorize transfers in and out, set the encryption key, and set the default docroot by running the following commands:
$ asconfigurator -x "set_node_data;authorization_transfer_in_value,allow"
$ asconfigurator -x "set_node_data;authorization_transfer_out_value,allow"
$ asconfigurator -x "set_node_data;token_encryption_key,token_key"
$ asconfigurator -x "set_node_data;absolute,docroot"
These commands create the following lines in aspera.conf. In the example, the docroot is /sandbox/$(name). By using the substitutable string
$(name)in the docroot, the application automatically replaces it with the login user name.<CONF version="2"> ... <default> <authorization> <transfer> <in> <value>allow</value> </in> <out> <value>allow</value> </out> </transfer> <token> <encryption_key>fwierj283ru23jrszellr73rj2fnsk38ru28h3r3ashre</encryption_key> </token> </authorization> <file_system> <access> <paths> <path> <absolute>/sandbox/$(name)</absolute> </path> </paths> </access> </file_system> ... </default> </CONF>To add the settings to aspera.conf manually, open it from the following directory:
/opt/aspera/etc/aspera.conf
-
Click Configuration.
-
Test the web UI with the client computer.
The client computer must be running a supported operating system and browser and cookies must be enabled in the client's browser.
-
The IBM Aspera Connect banner appears with a link to
download and install the latest version of Connect:
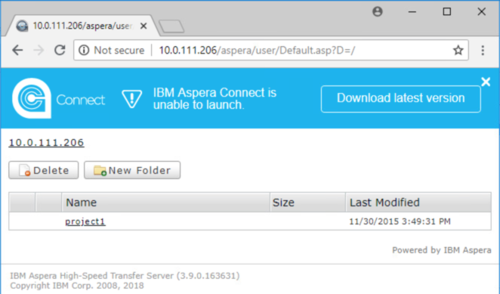
Click Download latest version.
-
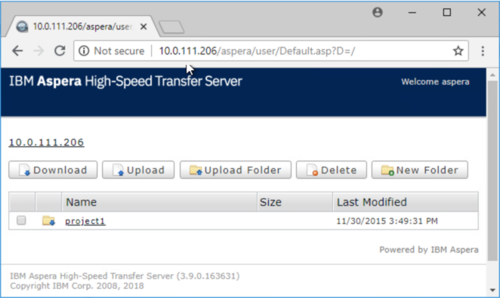
Once the installation is complete, refresh the page and the web UI for
appears:
-
The IBM Aspera Connect banner appears with a link to
download and install the latest version of Connect:
If you cannot run FASP transfers by using the web UI, see Clients Can't Establish Connection.