Transferring Content
The GUI provides an easy, intuitive way to transfer content between the local computer and a remote host.
Note: Do not use the following characters in file or folder names:
/ \ " : ' ? > < & * |-
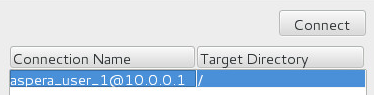
Select the remote server under Connection Name.
-
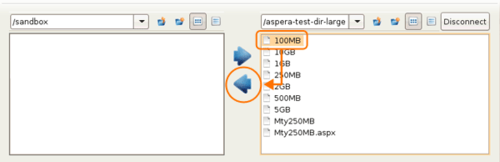
For uploads, if the target directory is correct, then you can select the
content to upload from the local file tree and either drag-and-drop the content
into the connection pane, or click the upload arrow. If you want to browse the
remote file system or download content from it, go on to the next step.
-
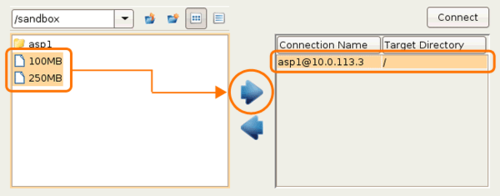
Select the content to transfer (from the local or remote file system) and do
any of the following:
- click the upload or download arrow
- drag and drop the files between the windows
- copy and paste the files between the windows