-
In IBM Aspera Shares, go to Admin > Accounts >
Directories. Click Edit for the SAML Identity
Provider.
-
For the SAML IdP entry, click Edit.
-
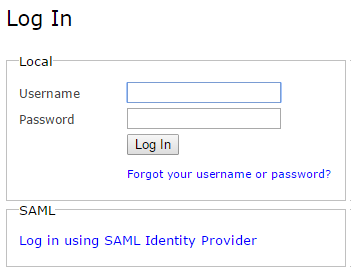
To enable SAML, select the check box Log in using the SAML Identity
Provider.
- Optional:
Enable SAML login redirection.
If enabled, entering the default Shares URL will direct
users to the SAML login page. If disabled, the Shares URL
directs users to the local login page.
-
Enter the SAML entry-point address provided by the IdP in the IdP Single
Sign-On URL text box.
-
Enter the Identity Provider Certificate Fingerprint or the
Identity Provider Certificate.
-
Click Save.
Your SAML configuration is now enabled for Shares. You can
further configure security settings by going to the Security tab where
you can restrict users from logging in through this configuration. If you allow users to log
in, you can enable the Restrict Login feature so that only SAML users
already imported from SAML can log into Shares.