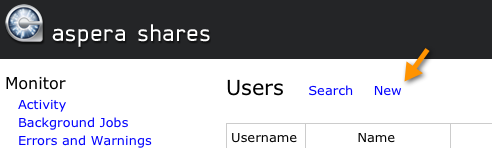
Administrators can create Shares user accounts that will automatically added to the local database (not a directory service). For DS users, please refer to the topic Configuring DS within Shares. Once a local user is created, he or she can be added to a local Shares group. To add a new local user, log in to Shares and go to .
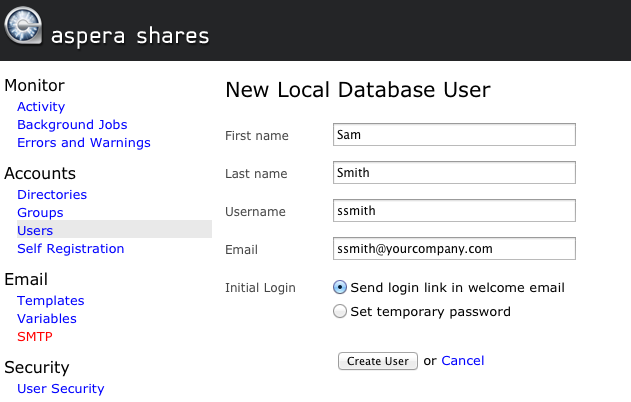
You will be prompted to input the following details:
- First Name
- Last Name
- Username
- Email Address
- Initial Login action (you can either send a login link that takes the user to the set-password page, or set a temporary password on the user's behalf).
Once you create a local user, you will be directed to the User screen, which displays seven tabs:
| Tab | Description |
|---|---|
| Detail | Update the local user's name, username and email address. You may also delete the local user from the Shares application. 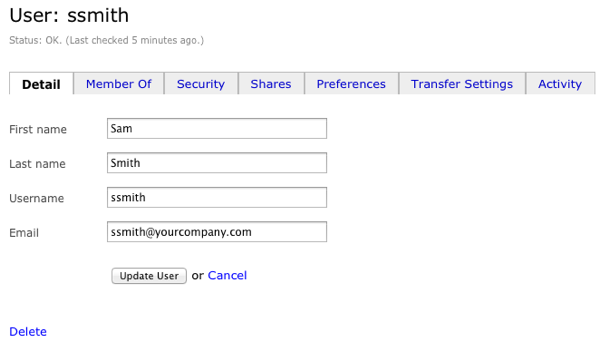 |
| Member of | Add this user to a local group by selecting one from the drop-down list. You will only see local groups that have been added to Shares (i.e. local groups that you have set up through the Shares UI). 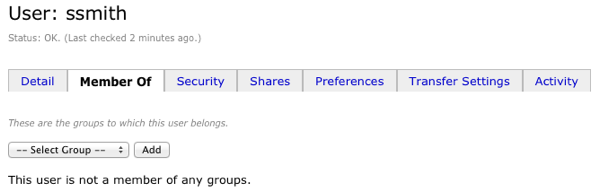
IMPORTANT NOTE: You will not be able to add local users to a DS group;
only local groups. For instructions on configuring DS users, see the topic Configuring DS within
Shares.
After adding a local user to a local group, you may click the Edit link to modify the group's settings or Remove to delete them from the group (but not from the Shares application). 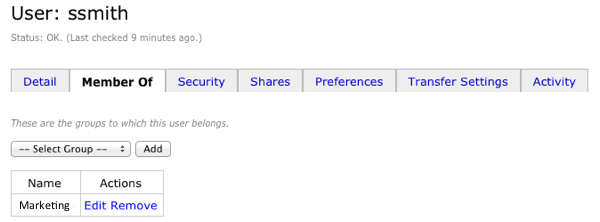 When you click the Edit link, you will be taken to local group's configuration page. Please refer to the topic Configuring Local Groups for details on modifying a local group's settings. |
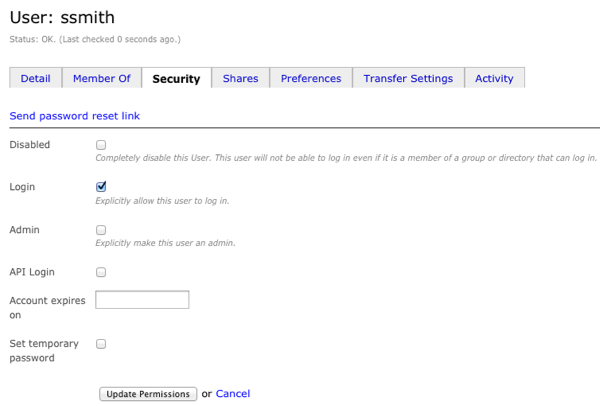
| Security | Under the Security tab, you can update the following settings:
 |
| Shares | Click the Add Share link to authorize specific shares for the local user to access. Note that if this user belongs to a local group, and the group has access to a share, then that share will be listed here (i.e., permission to access the share is "inherited" from the group). 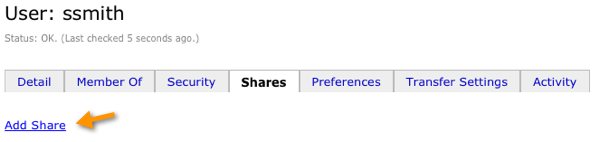 Upon doing so, you will be provided a list of nodes and shares that are currently configured in your Shares application, along with an Authorize link. 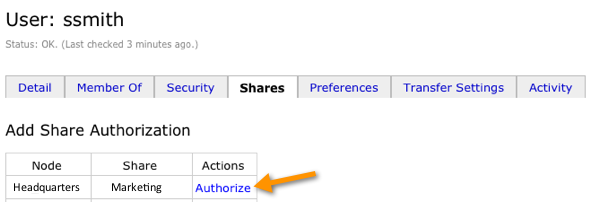 After authorizing a share, you can modify the user's permissions for browsing, transferring and performing file operations within it. Note that the default permission is browse only. If browse is not selected, the user will only be able to access functions if he or she has been made an API User (see Security tab description above). To edit these permissions or de-authorize the user's access to the share, click the edit link.  From here, select (checkmark) permissions that the user has for the authorized share. For example, the user in our office example is only allowed to download and browse the marketing share; however, he cannot upload content or perform any file operations within the share. 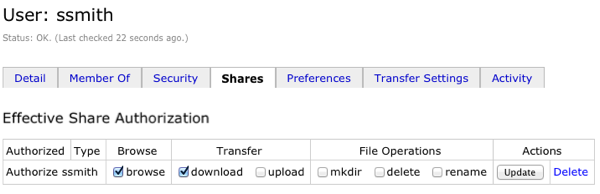 After modifying your settings, click the Update button. You may de-authorize access to this share by clicking Delete. NOTE: Non-admin
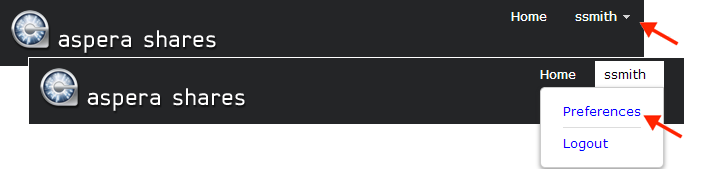
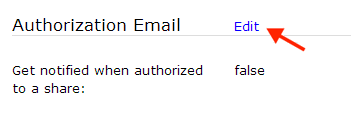
users are not automatically notified when given access to a share unless they
have explicitly enabled it. To enable notifications about shares access, users can
open user > Preferences, locate the Authorization Email setting, and
select Edit to change it. For non-admin users, the default setting is
false. For admin users, default setting is true.
 |
| Preferences | Select a timezone and input any comments. 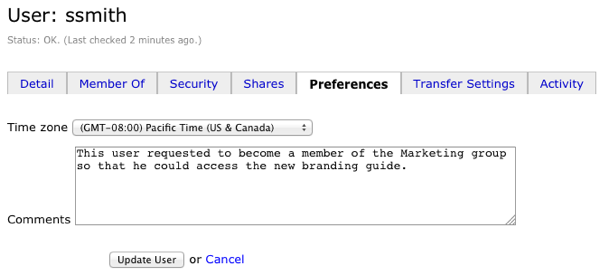 |
| Transfer Settings | Implement transfer settings/restrictions specifically for this user. In doing so, you will be overriding Share's app-wide transfer settings and group settings (if the user belongs to a group). 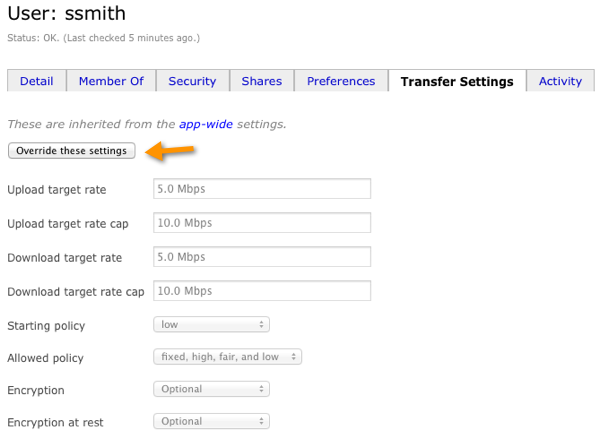 Transfer settings include the following:
|
| Activity | View and search for Shares activity by this user. 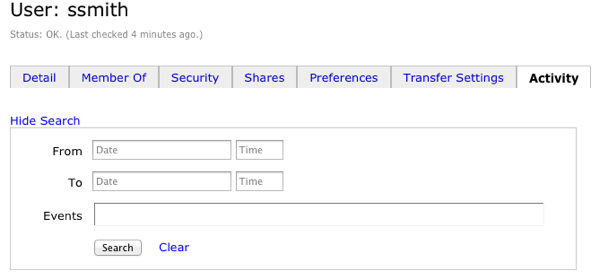 |