-
Run the Shares executable file and follow the
onscreen instructions.
AsperaShares-version.exe
Note: On Windows 2008 with UAC (User Account Control) enabled, you must run the installer as an Administrator. To do so, right-click the executable file and select Run as administrator. You may be asked to enter the administrator's password to allow the installer to make changes to the computer.Note: If you forget to make a note of the administrator’s password at installation time, you can reset it by running the following command:cd C:\shares\www rake aspera:admin NAME=bob PASSWORD=aspera EMAIL=example@aspera.com
After the license agreement dialog, the Shares Administrator Account Setup dialog appears. You are asked to choose a name for an Shares administrator account and to associate it with an existing email account:

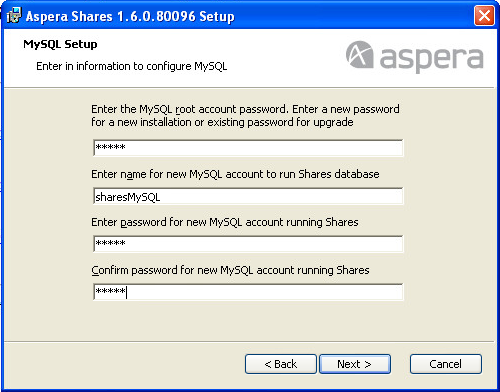
On the next dialog, MySQL Setup, provide information to configure MySQL. The first field asks for a MySQL root account password. The root account for MySQL is created with the password you enter.
Enter the name of a MySQL account to create to run the Shares database:
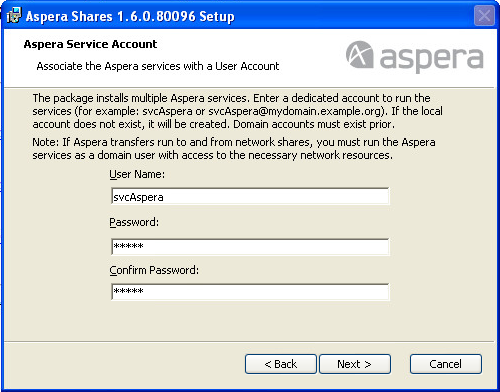
In the Aspera Service Account dialog, enter the name of the user account to run Aspera services. By default, the user name is svcAspera.
If the machine is not joined to a Windows domain, you need only a local user, such as the default svcAspera, to run Aspera services. If the local account does not exist on the system, enter new credentials and click Next. The account is then created automatically. If the account already exists, enter the existing account password and click Next.
If the machine is joined to a domain, or you need to support requirements No. 2 or No. 3 from the following table, the type of account specified varies. See the following table for options. If the server is configured to accept the domain user login, use a domain account that has been added to the local administrator's group to run the services. You must create this domain account on the domain controller first.
For Choose Setup Type, select Typical:No. Requirement Type of Service Account User 1 Provision local transfer users only. Local account. You can use a domain account with local administrator privileges, but is not required. 2 Provision Active Directory accounts for transfer users (users who want to transfer with your server are authenticated through Active Directory). Domain account with local administrator privileges. 3 Transfer users store files on a remote file system, such as an SMB file share. Domain account with local administrator privileges. In some cases, additional actions are required to support this requirement. See the aspera knowledgebase or contact http://support.asperasoft.com/home for assistance. 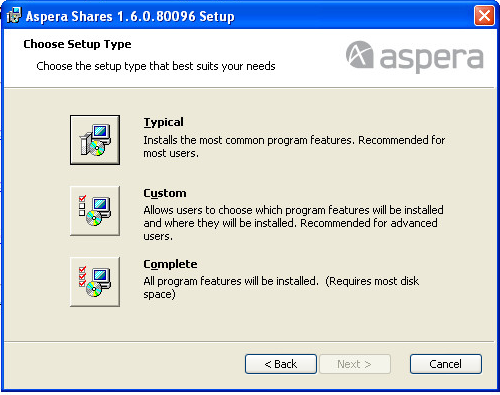
The Ready to Install dialog appears. You can either click Back to change your installation settings, or Install to proceed with the installation. The installation process starts the MySQL service and the Aspera services.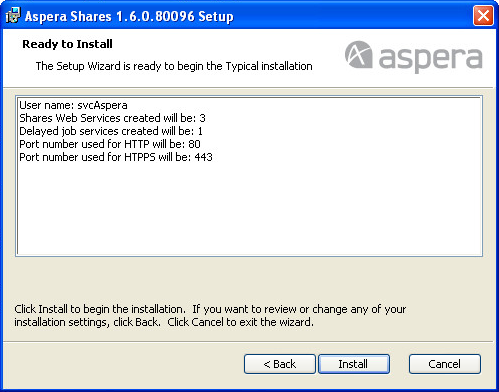
-
On the computer where Shares is installed, launch a
web browser and navigate to
http://shares_ip_address. The Shares login page appears. Log in using the administrator
username and password you created during the installation process:

-
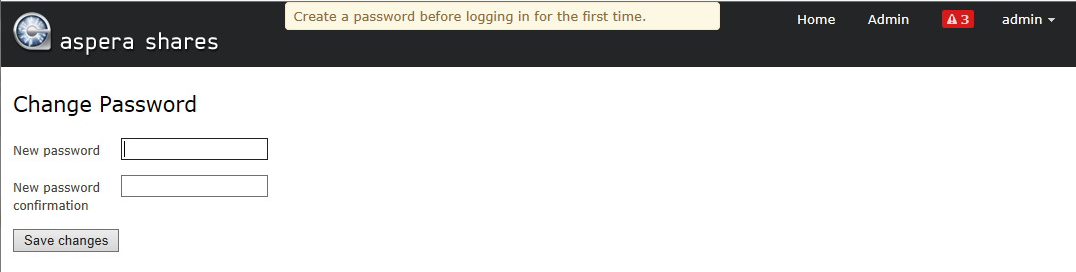
On the Change Password page that appears, provide a new password:
-
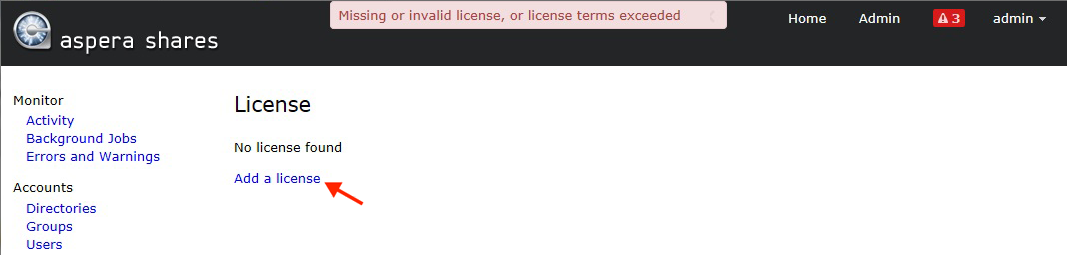
The License page appears.
-
In the Add/Change License dialog that appears, paste your license key, and
click Save.

-
Type the Shares server's hostname or IP address
into the Host field. It is used as part of the URL in
system emails to users.

By default the port is set to 443, and SSL/TLS is selected.