- Nodes already added to Shares. For instructions, see Adding Nodes.
- The node directory where you want to set up the share.
You can add a shares by using one of the following methods:
- Go to Home and click the
 button.
 - Go to Home, click a Node, Share, or Bookmark, then select a folder and click Create Share.
- Go to Home, click a Node, Share, or Bookmark, then use the Share option in the drop-down menu next to the folder that you want to share.
-
On the Home window, click SHARES+
to add a new share and complete the New Share
configuration form.
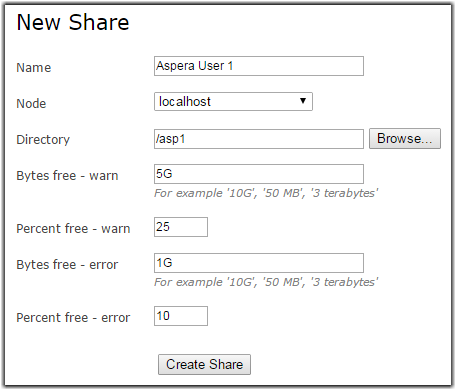
Field Description Example Value Name The name of the share is only a description, which means that multiple shares can also have the same name. New Share Node Select a node from the drop-down list. This drop-down list is automatically populated with nodes that you have previously configured. See Adding Nodes. localhost Directory Click Browse... to browse a nodes directories. You are prompted to select a directory in the pop-up window. You have several options:
- You can perform a search for a directory by typing its name into the text field and clicking Search.
- You can perform an advanced search by clicking Advanced and typing criteria into the text field.
- You can sort the directory list by:
- Type
- Size
- Size descending
- Last modified
- Last modified descending
- You can select a radio button next to the directory that you want to be the share, then click Select.
A directory called asp1. Bytes free - warn Issues a warning message when the share has equal to or less than a specified number of storage bytes free. You can enter the number as G, MB, terrabytes, and bytes. 5G Percent free - warn Issues a warning message when the share has equal to or less than a specified percent of its storage free. 25 Bytes free - error Issues an error message when the share has equal to or less than a specified number of storage bytes free. You can enter the number as G, MB, terrabytes, and bytes. 1G Percent free - error Issues an error message when the share has equal to or less than a specified percent of its storage free. 10 - From the share’s drop-down menu, you can perform the following tasks:
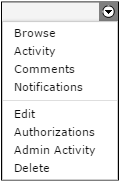
To give a user permission to access a share, see Authorizing a User to a Share.