Creating Email Templates

IBM Aspera Shares comes with preconfigured notification templates. The text of these templates can be customized to your specifications. Template substitution variables are useful for creating reusable boilerplate text that can be used across multiple email templates. To modify a template, create a new template by copying one of the preconfigured templates and editing it. You cannot modify or delete the preconfigured templates.

  1. From the Admin page, click Email > Templates.
  2. To view a template, click its name.
    To return to the list of templates, click your browser's back button or Email > Templates.
  3. Click Copy to create a copy of the template you wish to modify.
    The copied template appears in the list with the name template_name 1 and is greyed out because it is not yet active.
  4. Click the name of the new template to edit it.
  5. To change the template name and subject line, click Edit next to Details.
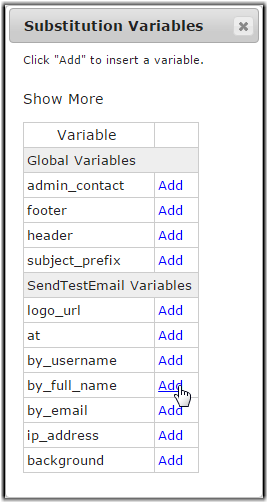
    The default subject line includes the Template Substitution Variable {{subject_prefix}}. To get more information about and use substitution variables, click Template Substitution Variables at the bottom of the page and click Show More in the pop-up window. (Make the pop-up window small again by clicking Show Less). To insert a substitution variable, put your cursor where you want the variable inserted in the text then click Add next to the variable in the Substitution Variables window.

    To create new variables or modify existing ones, see Creating and Modifying Variables in Templates.
    Important: You must click Save for your changes to be saved.
  6. To change the text of the email, click Edit next to HTML Template and Plain Template.
    Email notifications always include the HTML and plain-text versions of the message. Aspera recommends editing the plain-text version first, then copying and pasting the edited text to the equivalent location in the HTML template. The editing interface for the two can be open simultaneously. You may add template substitution variables as described for editing template details.
    Important: You must click Save under both editing boxes for your changes to be saved.
  7. Make the new template the default email notification.
    Return to the Templates page and select Active? and Default?. When Default? is selected for the new template, it will automatically be cleared for the original template.
    Note: To delete a modified template, select a different template for the default, clear Active?, then click Delete. Click OK in the pop up to confirm template deletion.