Adding Watchfolders to Console

A watchfolder automates file transfers from a source to a destination system. Files are placed into a source folder and automatically transferred to the destination. It runs from the client side only and does not require any additional software on the destination system.

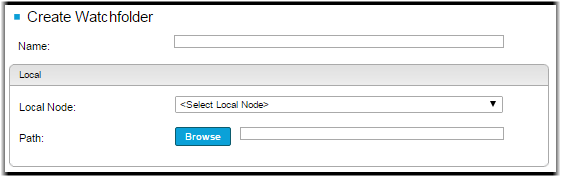
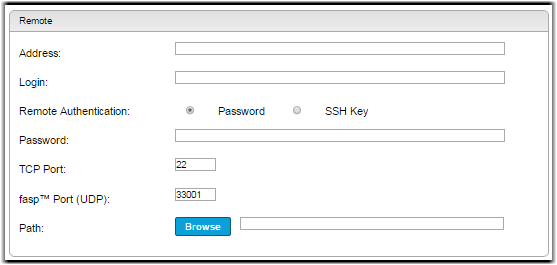
To configure a watchfolder, first add the source host to Console as a managed node. Then, follow the instructions below to create a new watchfolder.

Important: The source host must be properly configured for watchfolders. For more information, see Setting Up Watchfolders.
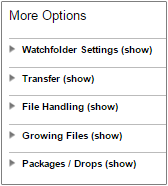
  1. Log into Console at https://console_host_address.
  2. Go to Activity > Watch Folders and click Create New Watchfolder.
  3. Name your watchfolder.
  4. Select a managed node from the drop-down menu. Click Browse to choose the source directory.
    Note: Only nodes configured to run watchfolders appear on the drop-down list. If you do not see any nodes, make sure your nodes are properly configured.


  1. Enter the host address of the remote node.
  2. Enter the SSH login credentials for the remote host.

    Enter the administrative account username and password to allow Console to connect to the node machine. Authenticate the account with either a password or a saved SSH key.

    • Password authentication: Enter the account password.
    • Public key authentication: Select Use SSH Key and select your uploaded key. To use public key authentication, you must have your SSH private key configured in Console. For instructions, on how to configure SSH keys in Console, see SSH Keys.
  3. Set the TCP and UDP ports. By default, TCP uses port 22 and UDP uses port 33001.
  4. Click Browse to test the connection and choose the target directory.


  1. Optional: Configure additional watchfolder settings. For more information on watchfolder settings, see Watchfolder Options.

  2. Click Create.