Virtual link (Vlink) is a feature that allows "virtual" bandwidth caps. Transfer sessions assigned to the same "virtual" link conform to the aggregate bandwidth cap and attain an equal share of it. This section first shows you how to set up Vlinks, then explains how to apply it to computers or users.
Follow these steps to configure Vlinks:
-
Create Vlinks
To configure Vlinks, launch the application (
) and click Configuration. Select
Vlinks tab in the left panel.
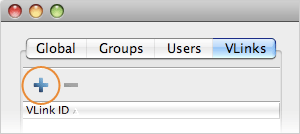
Click  to add a new Vlink entry, assign a number between 1 and 255.

Here is a list of all Vlink configuration options:
| # |
Field |
Description |
Values |
Default |
| 1 |
Vlink Name |
The Vlink name. This value has no impact on actual bandwidth
capping. |
text string |
blank |
| 2 |
On |
Select true to activate this Vlink; select false
to deactivate it. |
|
false |
| 3 |
Capacity (kbps) |
This value reflects the virtual bandwidth cap in Kbps. When
applying this Vlink to a transfer (e.g. Default outgoing), the
transfer's bandwidth will be restricted by this value. |
positive integer in Kbps |
50000 |
-
Apply a Vlink to a transfer
You can assign a Vlink to a global, a user, or a group
settings. This example assigns a Vlink to a user's incoming transfer
session.
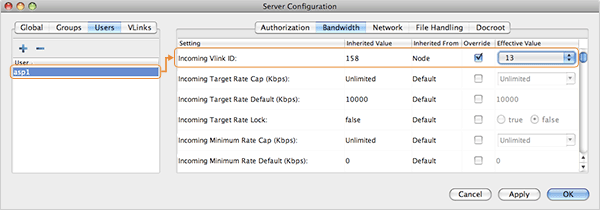
Bring up the Configuration window and select the
Users tab, select the user to apply Vlink. In the
right panel, select the Bandwidth tab, check the
option Incoming Vlink ID and select the Vlink to
apply (choose ID from drop-down list):

IMPORTANT NOTE: If you have a local firewall on your server (Windows firewall, Linux iptables or Mac ipfw), then you will need to allow the Vlink UDP port (55001, by default) for multicast traffic.

