Testing a Transfer
To make sure the software is working properly, follow these steps to set up a simple connection with the Aspera Demo Server and test download and upload transfers.
-
Add the Aspera Demo Server in the Connection Manager.
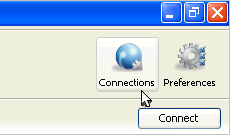
Click Connections:
In the Connection Manager, click
 to add a new connection, click OK to create
a standard connection, and enter the following information, leaving the
other options with their default values or blank:
to add a new connection, click OK to create
a standard connection, and enter the following information, leaving the
other options with their default values or blank:Field Value Host demo.asperasoft.comUser asperaAuthentication (Password) demoaspera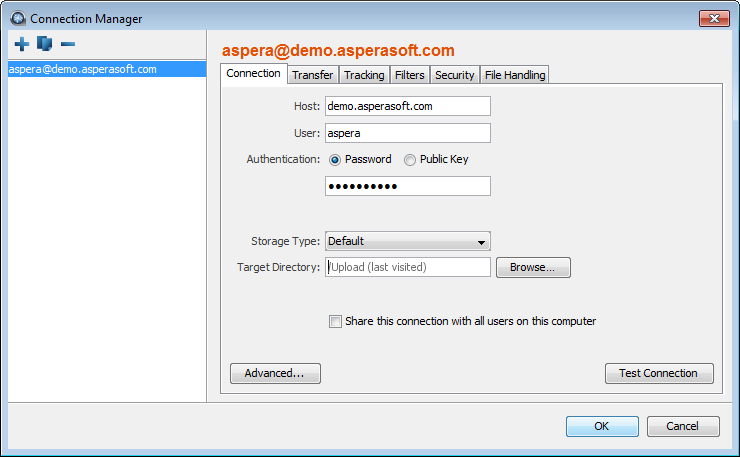
-
Connect to the Demo Server and download test files.
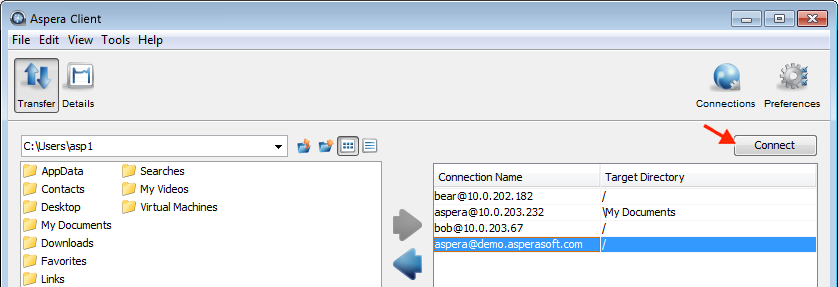
From the main window, select the demo server entry and click the Connect button.
On the server file browser (right panel), browse to the folder /aspera-test-dir-large, select the file 100MB, and click
 to download it to your local machine.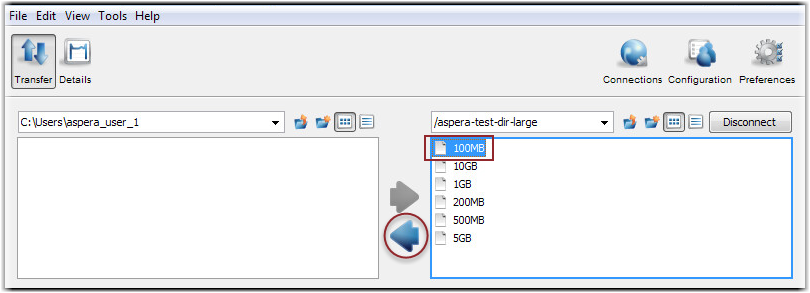
You should see the session appear in the Transfer pane.
-
Upload to the Demo Server
Select the same file (100MB) on the local file browser (left panel), go to the folder /Upload on the Demo Server, and click
 to upload it.