Creating Console users for accessing Console.
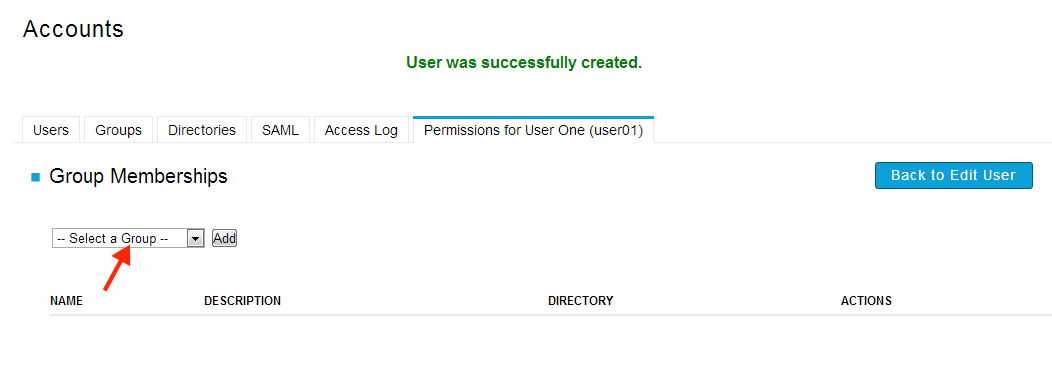
A Console user is an Aspera Console login account with customizable access permissions. Except for administrator accounts, Console user permissions are managed through the group assignment. A Console user inherits the permissions from the groups the user belongs to.
Note:
A Console user is not directly related to the login account to a node.
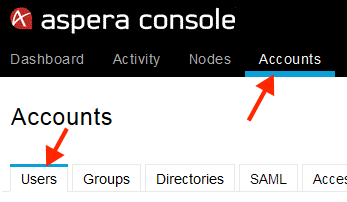
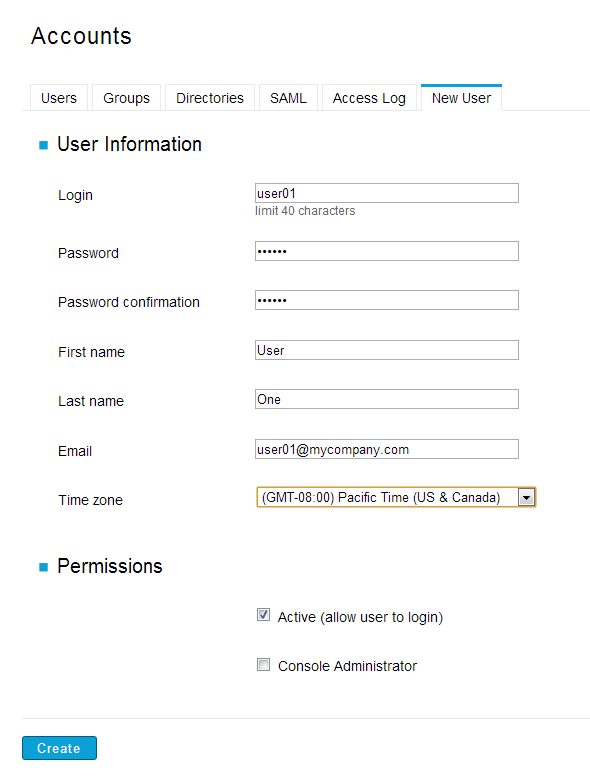
To create a Console user, follow these steps:
Once the Console user account is created, users can log in to Console with the
account credentials. To deactivate this account or make other changes to it, go to
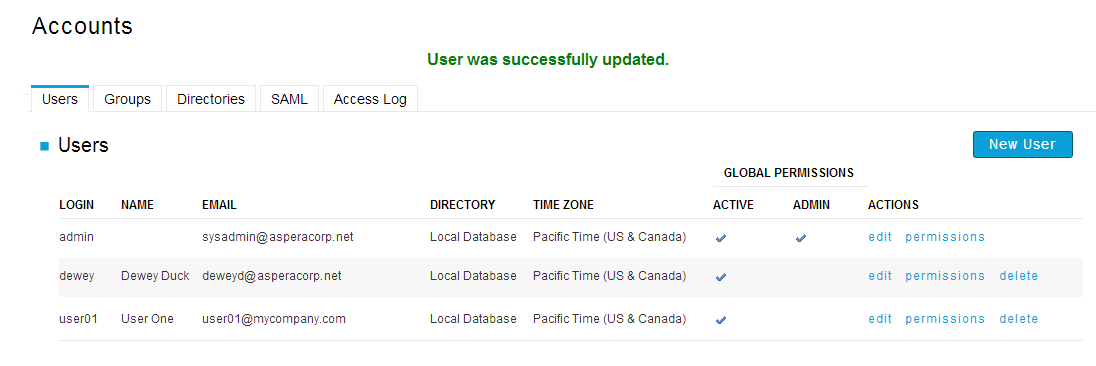
the Accounts page and select the Users tab. In the list of
all Console users that appears, locate the account you want to change:
- To deactivate or reactivate the account, change it to a Console administrator, or modify any of the basic account information, click the edit link.
- To modify transfer permissions, click the permissions link and modify which groups the user is a member of.
- To remove a Console user from the system, click delete.


