Adding other organization's computers as unmanaged nodes in Console.
In Console, a node is defined as an Aspera-transfer-enabled computer. A node can be added as a managed node (typically a local system) or an unmanaged node. The following table displays tasks that can be performed on each node type:
| Type | Permissions |
|---|---|
| Managed Node | Initiate transfers with, monitor and configure this type of node. |
| Unmanaged Node | Initiate transfers with this type of node. |
To add an unmanaged node, follow the steps below.
-
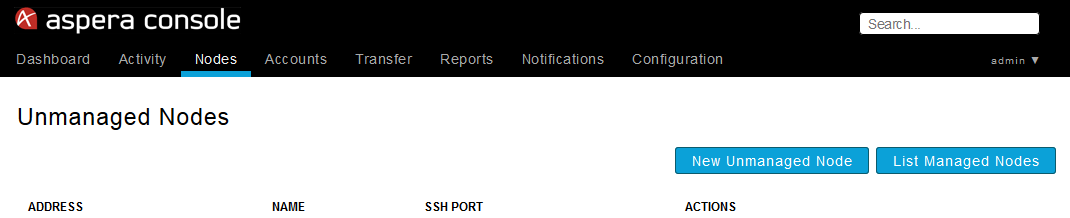
Navigate to Console's "Unmanaged Nodes" list
In Aspera Console, go to .
-
Add a new, unmanaged node
Click the New Unmanaged Node button to go to the Creating New Unmanaged Node page. Enter the node's IP address, description and SSH port number.
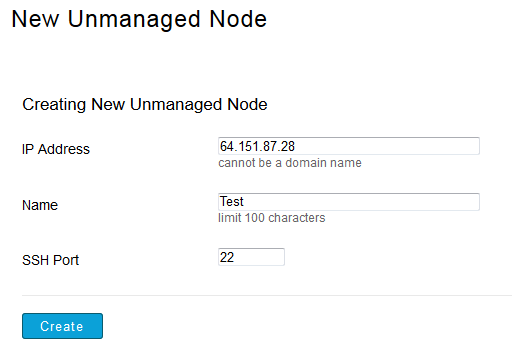
Click the Create button when finished. You new, unmanaged node will be listed within the table, along with edit and delete links.
