Back up and Archive/Purge Console's database.
The Database Backups page enables you to back up or archive/purge the Console database. To access the page, select from the Console menu.
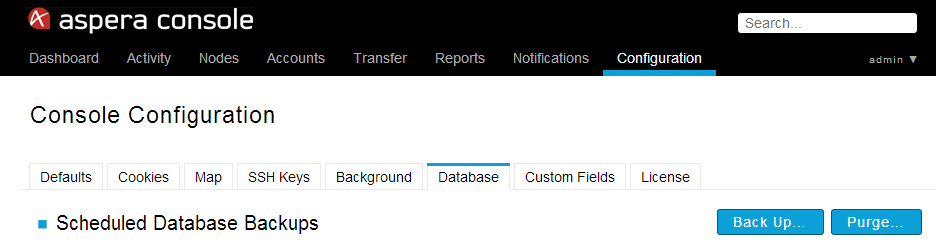
You can back up Console from this GUI or by using the asctl command. The asctl command is limited to backing up the Console database, while the GUI backs up all files required to fully restore the system. To back up Console's database with the asctl command, see Backing Up the Console Database.
Click Back Up to go to the backup page (shown below). Enter the desired path into the Save to field, which will be the destination folder for the console_full_backup_YYYY-MM-DD_hhmmss backup file. Then, select Run now to back up the database immediately, or Run later to specify a time in the future or to configure a repeating backup operation. Click the Back Up Now button when finished.
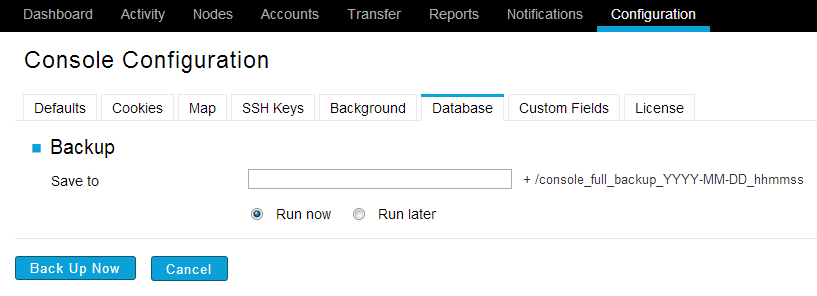
Once Console has been backed up, the backup file will appear on the Database Backups page, where scheduled, current, and recent backups are listed.
To view details on a particular backup, click anywhere in the backup's row.
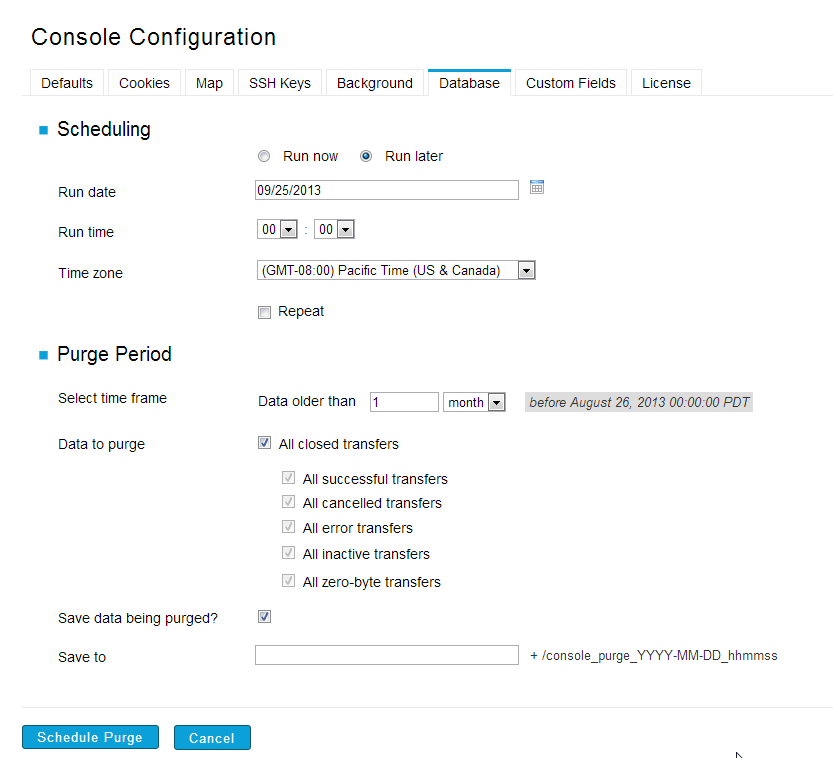
You can also archive and purge data from Console (for example, purge all sessions before January 1, 2012) by clicking the Purge button from the Database Backups page and completing the form fields. Form fields exist as follows:
- For Select time frame, choose Data older than... to delete data that is older than specified time frame.
- For Data to purge, check the type of transfer data that you wish to purge.
- If you would like to save the data being purged (i.e., achiving), enable the corresponding checkbox.
- If the Save data being purged checkbox is enabled, enter the desired absolute path into the Save to field (e.g. /tmp/data or D:\data\). The purged data will then be stored in the file purged_data.sql within the [absolute path]/console_purge_YYYY-MM-DD_hhmmss/ (Linux) [absolute path]\console_purge_YYYY-MM-DD_hhmmss\ (Windows) directory.
- Select Run now to back up the database immediately, or Run later to specify a time in the future or to configure a repeating purge operation.
When finished, click the Purge Now or Schedule Purge button. (depending on whether you selected Run now or Run later above).
To restore purged data, you can run a mySQL data import (as shown below). It may be necessary to provide a full path to the mySQL binary. For example, on Linux, the full path to the command is /opt/aspera/common/mysql/bin/mysql.
asctl console:stop
cd /opt/aspera/common/mysql/bin
mysql -uUSERNAME -pPASSWORD aspera_console < DIR/purged_data.sql

Where DIR is the directory in which the purged data is stored.