Steps for managing your Console On Demand user account
This task walks you through updating your IBM Aspera Console Application on Demand user account information, setting up email notifications, managing saved endpoints and adding SSH private keys.
-
Update your user account information.
Once you are logged in and Console On Demand is enabled with a valid entitlement, click the admin user name in the Console banner and select Preferences.
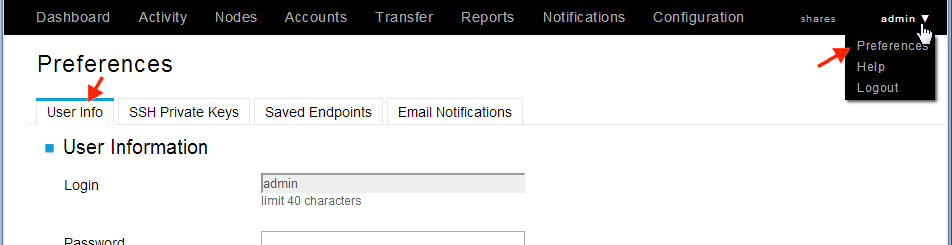
Under the User Info tab, you can modify your user information, including password, first name, last name, email address, and time zone. When finished, click Update.
-
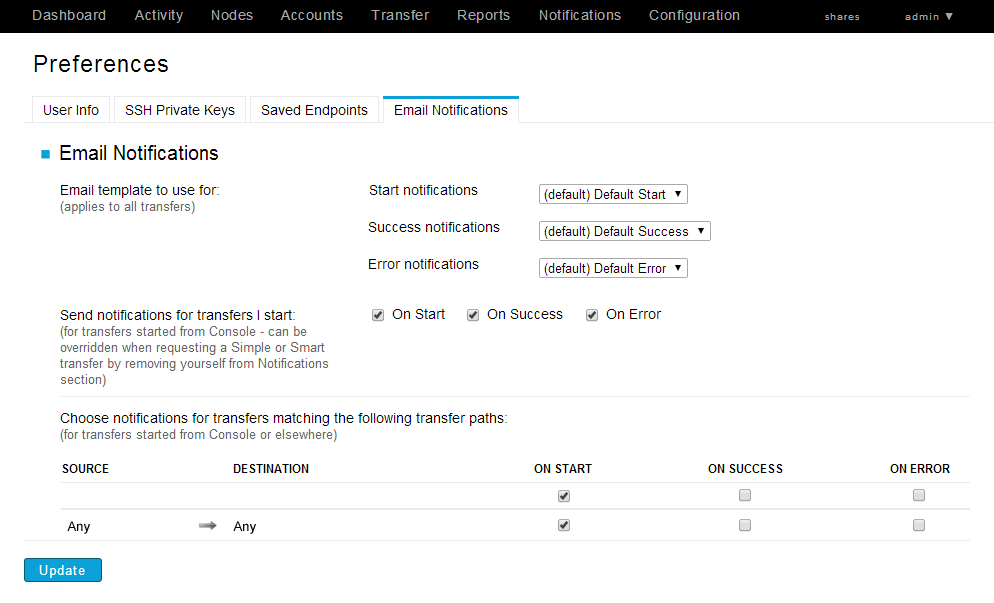
Set up email notification.
You can configure email notifications for particular transfer events from the Email Notifications tab. For example, you can have notifications sent to the sender of a file once the transfer has successfully completed. To configure email notifications, go to and select the appropriate template. Then, check the event for which you'd like to be notified. Click Update when finished.
-
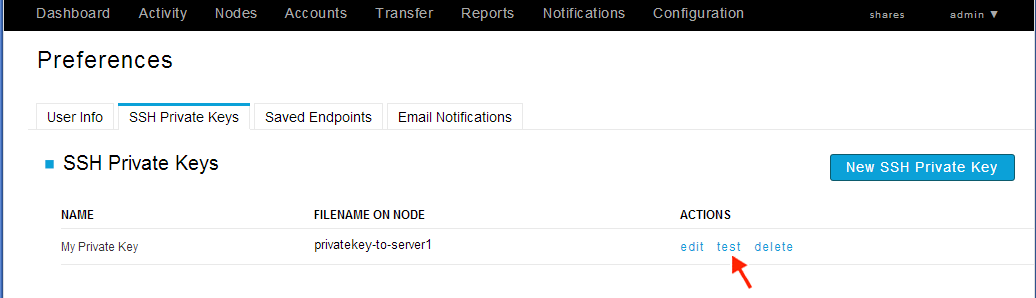
Add SSH private keys.
To transfer files using key-based authentication, go to and upload the private key. Complete the form and click the Save.
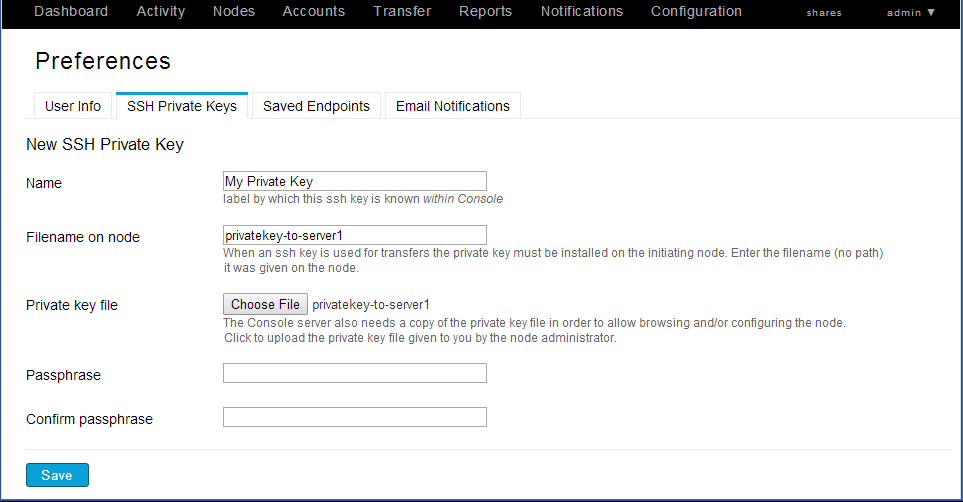
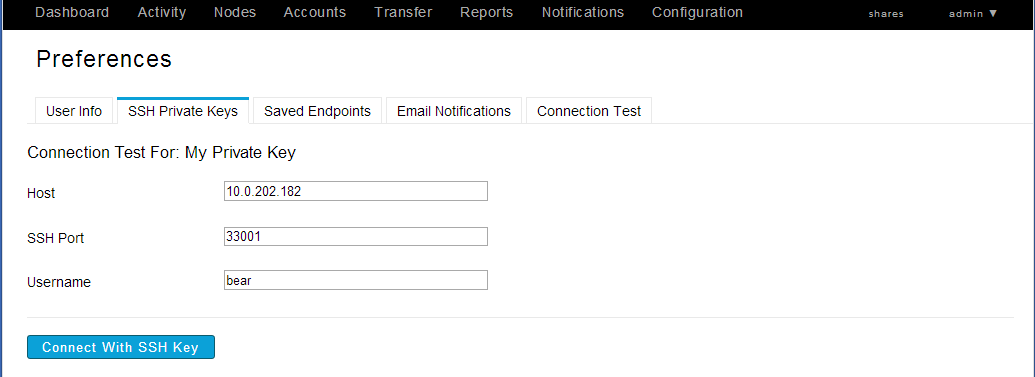
Name A unique name identifying this key file in Console. Filename on node The filename (excluding the path) of the private key on the node. When an SSH key is used for transfers, the private key must be installed on the initiating node. Private key file Click Choose File to browse and select the private key file to upload. This will be the Console's copy of the private key file, which will allow browsing or configuring the node. Passphrase/Confirm passphrase Enter the passphrase of the key, if any. Enter the passphrase again in the Confirm field. Note: When you add an SSH private key, you can test the connection by clicking the test link and entering the IP address of the computer that has the paired public key and corresponding user name. Lastly, click the Connect with SSH Key button.