-
Go to the Users page.
At the top-right corner of the Orchestrator UI, click the dropdown arrow next to admin and click Preferences.

The Users page opens. -
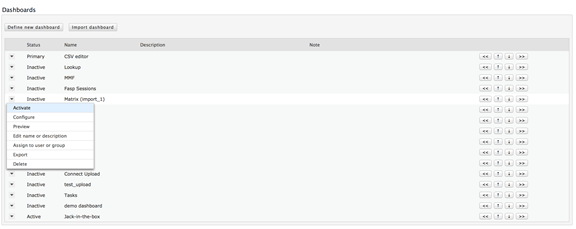
Click the dropdown arrow to the left of the portal page you want to configure,
and click Configure.
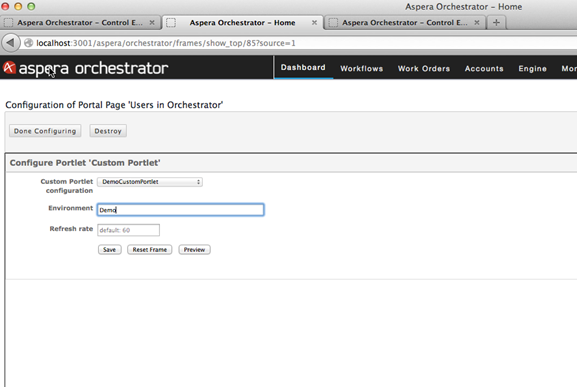
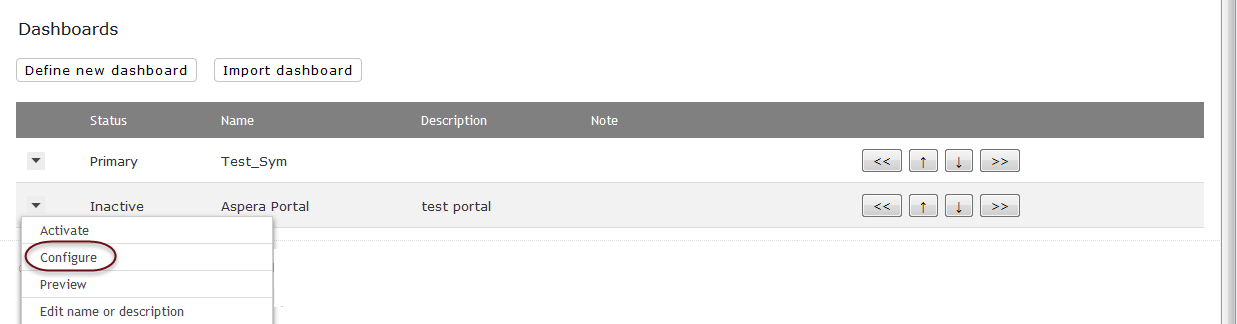 The Configuration of Portal Page 'portal_page_name' page opens.
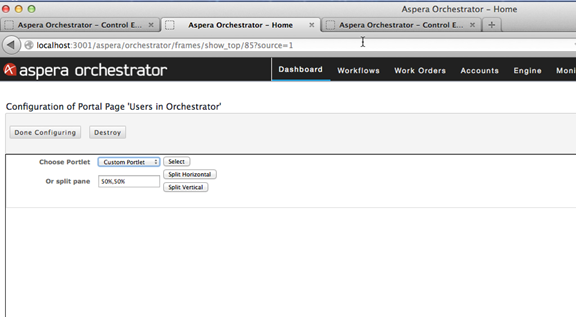
 -
In the Choose Portlet dropdown menu, select Custom
Portlet, then click Select.
A dropdown of the Custom Portlets is shown, select the above developed DemoCustomPortlet
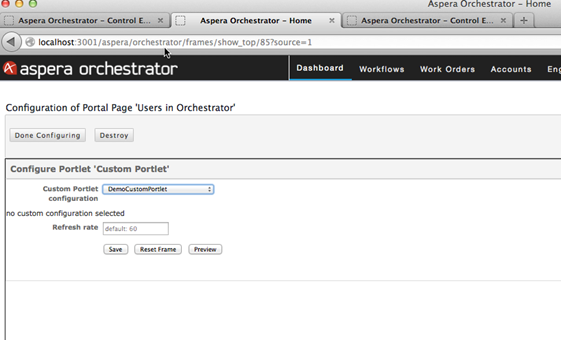
Click Save to obtain the runtime info regarding the CustomPortlet – in this case the runtime parameter Environment is displayed.
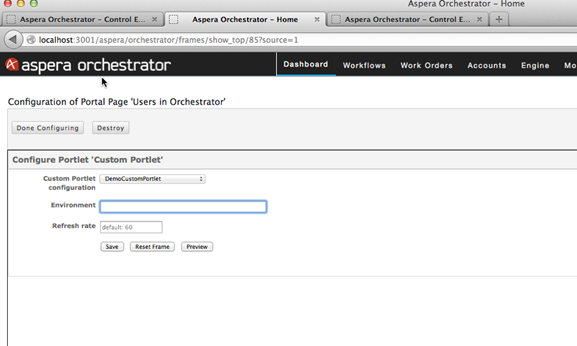
Enter a value for Environment and click Save button again. Your portal page using the Custom portlet is ready. Click Done Configuring button to go back to the user preferences page.
Click Activate link on the menu to make the portal page appear in the Dashboard. An option to preview the page also exists.
Navigate to Dashboard tab in Orchestrator UI. Find the portal page you just created in the secondary navigation.
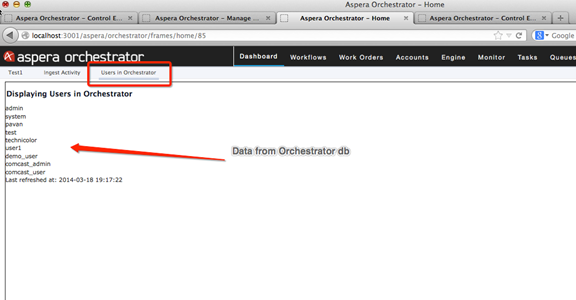
All the users currently in this test instance of Orchestrator are shown in the page.