The features below are available in the workflow designer, which is accessed by clicking
Workflows and opening a workflow from the list.
Undoing and Redoing Actions
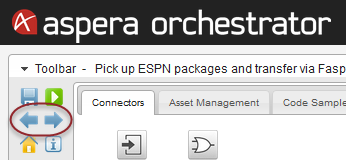
UI options: To undo and redo your changes to a workflow, click the back arrow and
forward arrow, respectively.
Keyboard shortcuts: To undo your changes, press Ctrl+Z (on Windows) and Cmd+Z (on
Mac). To redo your changes, press Control+R (Mac). There is no equivalent keyboard shortcut
for redoing an action on Windows.
Note: These keyboard shortcuts may conflict with your
system’s existing keyboard shortcut mappings.
Selecting, Moving, and Deleting Multiple Work Steps
Selecting
To select multiple work steps in order to move or delete them as a group, press Ctrl,
Shift, or Cmd, then click the steps one at a time. You can add additional steps to a group
of steps you have already selected by holding down Ctrl, Shift, or Cmd and clicking the
additional steps one at a time.
Alternatively, you can click the canvas (the background grid pattern in the window) next to
a work step that you want to select, then click the left mouse button and drag the mouse to
highlight an area that selects that work step and additional work steps (note: this
procedure only selects steps that are next to or immediately above or below each
other).
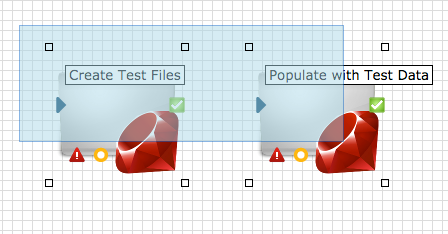
Note: The blue highlighting disappears after the steps
are selected, but this does not affect their "selected" status.
To remove an individual work step from a group of selected steps, press Ctrl, Shift, or
Cmd and click that step.
To select all work steps in the designer, press Ctrl+A (Windows) or Cmd+A (Mac).
Moving
After selecting multiple work steps, you can move them as a group by releasing the
selection key (Ctrl, Shift, or Cmd), clicking one of the selected steps, and dragging to a
new location—which moves all the selected steps together.
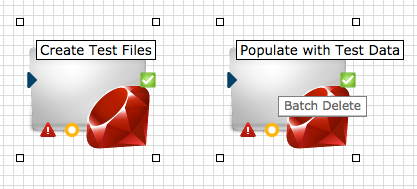
Deleting
After selecting multiple work steps, you can delete them as a group. Right-click one of the
selected work steps, then click
Batch Delete.
Highlighting Workflow Errors
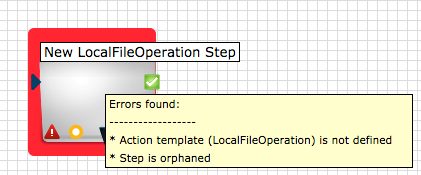
When a work step is improperly configured—for example, it does not have any connections, or
it is missing a required input—it is highlighted with a red border that indicates an error
when the user tries to save or publish the workflow. Hovering over the work step opens a
tooltip that lists the errors which need to be fixed.
Changing the Workflow Description
- Click Workflows.
- In the Workflow Definitions list, click the dropdown arrow next to the desired
workflow and click Edit descriptions.
- In the Edit Workflow Description dialog, edit the information as needed, then
click Update Core Parameters.