Exporting a Workflow
This article describes the procedure for exporting a workflow from one Orchestrator node (for example, a development machine) in preparation for importing it to another Orchestrator node (for example, a production machine).
When these steps are completed, the exported workflow can imported with the procedure in Importing a Workflow.
-
The Export Workflow dialog opens, with one of the following conditions:
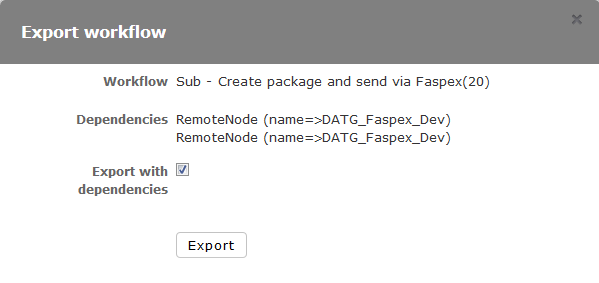
- For workflows with dependencies (sub-workflows, remote nodes, and global
templates), the dialog will list the dependencies. Click the
Export with dependencies check box to
automatically export the dependencies with the workflow.Click Export.Note: This step (exporting the dependencies with the workflow) is recommended to ensure proper functioning of the workflow after it is imported by another Orchestrator machine.
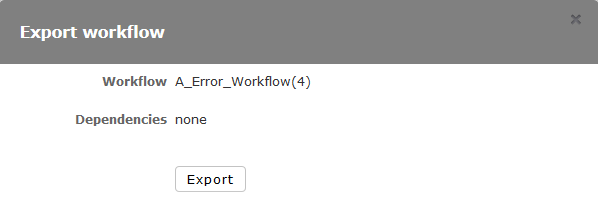
- For workflows without dependencies (the dialog will state
Dependencies: none), click
Export.
- For workflows with dependencies (sub-workflows, remote nodes, and global
templates), the dialog will list the dependencies. Click the
Export with dependencies check box to
automatically export the dependencies with the workflow.