Test Aspera Connect client transfers through Web UI.
Follow the steps below to test your client transfers through the Web UI.
Note: The instructions require steps to be taken on both the Connect Server system and a
client computer. Make sure you are performing the steps on the specified
machine.
-
Clients: Test the connection to the Web UI
To test your connection to the Connect Server Web UI, go to the following
address with a client computer's browser:
| Scope |
URL |
| HTTP |
http://server-ip-or-name/aspera/user |
| HTTPS |
https://server-ip-or-name/aspera/user |
-
Connect Server: Set up a test user account
Prepare a system user (asp1), and add the user to
Connect Server with the specified docroot. Launch the application
(Start menu>All Programs>Aspera>Enterprise
Server>Enterprise Server
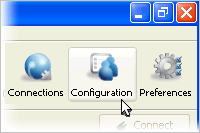
) and click Configuration.

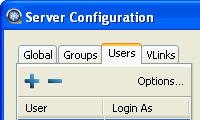
In the Server Configuration, select the
Users tab and click  . Enter the system user's name (asp1).

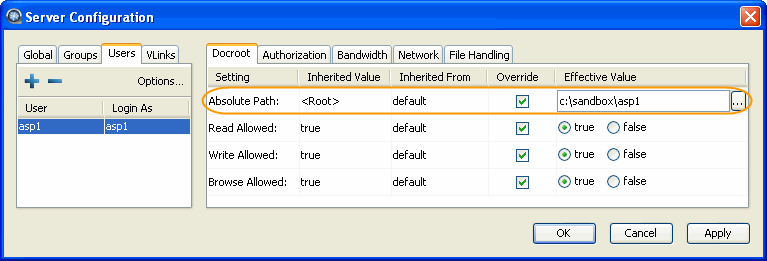
Select the user's Docroot tab,
check Absolute Path and enter or select an existing path as the
user's docroot (for example, C:\sandbox\asp1
). Set all other options true.
Click OK or Apply when
finished.

Note: On the operating system, the system user should have read and write
permissions to its docroot.
Note: Use the -c option only if this is the first time running
htpasswd to create the webpasswd file. Do not use the
-c option otherwise.
-
Client: Test the Web UI with the client machine
Prepare a client computer with the supported OS and browser to test
connecting to the Web UI. See the Introduction for
supported platform and browser. Browsing the Web UI from the client machine,
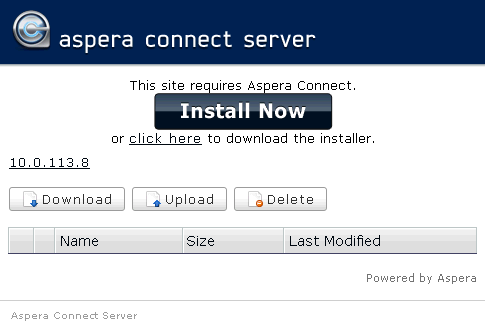
you should see the Aspera Connect browser plugin installation instruction on
the web page. Click either Install Now or
Download Aspera Connect and follow the
instructions.

In the Web UI, click Upload and select one or more
files to send to Connect Server. When finished, select the
uploaded files on the Web UI, and click Download.
Note:
When adding files to the Web UI, do not use the following
characters in the filenames:
/ \ " : ' ? > < & * |
For further information about the Aspera Connect browser plugin, see the
Aspera Connect User Guide.


