Initiate and manage file transfers.
/ \ " : ' ? > < & * |
-
Connect to the remote host
Start the application by launching , and double-click the connection within the Connection panel, or select it and click Connect.
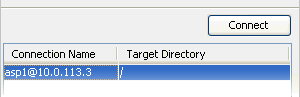
In the Connections panel, the Target Directory shows either a specific path when the target directory is set, or the last-visited folder when left blank. Refer to Managing Connections for setting up the target directory.
-
Initiate the transfer
To transfer a file to or from the remote computer, select the file that you would like to transfer and then click the upload or download arrow.
-
Transfer files without browsing the remote host
If you have entered the target directory for this connection (See Managing Connections), you can also transfer files without browsing the remote computer. To do so, select the files from the left panel (local), select the connection name from the right panel (remote) and click
 to push files to the remote computer's target directory (as shown in
the screenshot), or
to push files to the remote computer's target directory (as shown in
the screenshot), or  to pull files from it.
 Note: If you attempt to transfer too many files, regardless of the method, the transfer is disabled and the following warning message is displayed:
Too many files selected. Select fewer files, or transfer the folder containing your selection instead.
The file limit is OS dependent.
The limit does not apply to copy-and-paste operations within the same file browser panel.
-
Manage the transfer sessions in the Transfers panel
Once the transfer has been successfully initiated, a progress bar will appear in the Transfers panel. If you have multiple ongoing transfers, use the
 and
and  to change the selected transfer's priority. The # field indicates
the transfer's order in the queue. Also the
to change the selected transfer's priority. The # field indicates
the transfer's order in the queue. Also the  ,
,  , and
, and  can be used to control the selected transfer session.
 -
(Optional) Make adjustments to a transfer session's target rate, minimum rate
and/or policy (if allowed)
The Details button provides additional visibility and control (if granted the proper permissions) over transfers. Select a transfer session from the Transfers panel and click Details to view details and/or adjust settings.
The following items are on the Details display:
Item Name Description A Details (tab) Transfer details, including status (rate and ETA) and statistics (session size, files transferred vs. total files to be transferred, average speed, time elapsed, RTT delay and average loss in percent). B Files (tab) All files being transferred in this session, along with each files' size and transfer progress. C Transfer controls Set the transfer policy and transfer rate, if allowed. For additional information, see fasp Transfer Policies. D Transfer Monitor The transfer graph. Note that you may use the sliders to adjust the transfer rate up or down (if allowed). -
Update preferences for the transfer rate and maximum number of concurrent transfers
If you have administrator privileges, you can set the target transfer rate for all users from the Global Preferences dialog. As an individual user, you can override the global settings from My Preferences. To update these settings, go to Tools > Global Preferences or Tools > Preferences. You can also open My Preferences from the Preferences button in the upper-right corner of the application's main window; from there you can also reach the Global Preferences dialog by clicking Global Preferences.
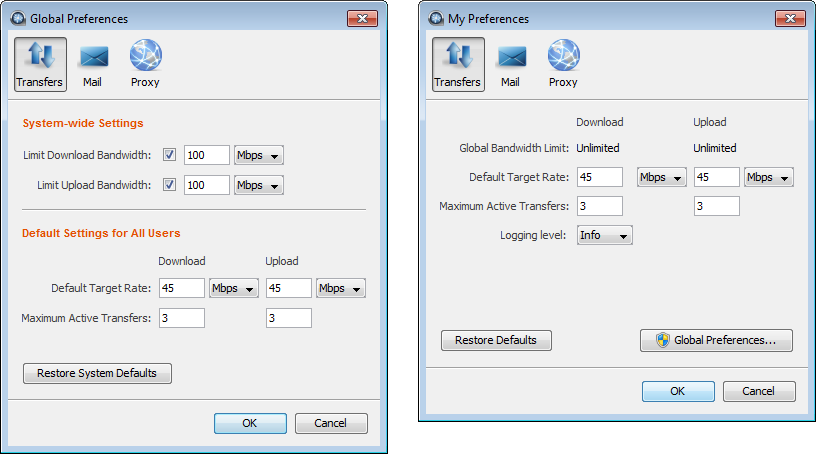
The following options are available under the Transfers tab:
Item Description Global Bandwidth Limits The aggregated bandwidth cap for all fasp transfers on this computer. For more advanced bandwidth settings, see Bandwidth. (Set by administrators only.) Default Target Rate The initial download and upload rates for all transfers. Maximum Active Transfers The maximum number of concurrent upload transfers and download transfers. For information about settings under the Email tab, see Configuring Transfer Notifications.