This topic describes the process of uploading content to your mobile-enabled Aspera transfer server. Note that once you start transferring content, the Mobile Uploader will continue to upload, even if it is running in the background (e.g., you receive a call or go to another app). You can leave the Mobile Uploader running in the background for up to 10 minutes, and then it will pause the transfer(s) and conveniently save them until you return to the app. Once you return, you can easily restart the saved transfers by pushing the Upload button.
-
Configure your Mobile Uploader settings.
Go to Settings (click the
 icon in the lower left-hand corner of the main
screen) and set your mobile-enabled Aspera transfer server's host name (or
IP address). Note that if you have accounts on multiple servers, you will
need to change the settings when you want to transfer to a different server.
In addition, input your username and password, as well as any other custom
settings that you would like to apply. Note that inputting your password is
not necessary if your server is configured for public-key authentication
(check with your Server Administrator). For additional details on
configuring your Mobile Uploader for transfers, see Settings. Click
Done when finished.
icon in the lower left-hand corner of the main
screen) and set your mobile-enabled Aspera transfer server's host name (or
IP address). Note that if you have accounts on multiple servers, you will
need to change the settings when you want to transfer to a different server.
In addition, input your username and password, as well as any other custom
settings that you would like to apply. Note that inputting your password is
not necessary if your server is configured for public-key authentication
(check with your Server Administrator). For additional details on
configuring your Mobile Uploader for transfers, see Settings. Click
Done when finished. -
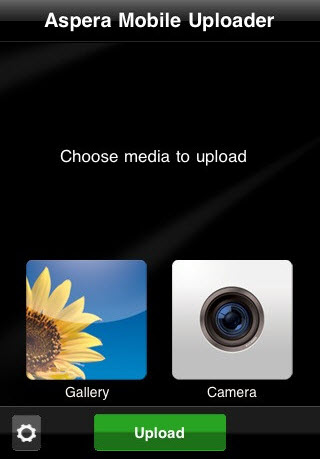
Select media for upload either from your device's gallery or camera.
Within the main app screen, select your test media from your gallery (press the Gallery button) or take a photo/video using your camera (press the Camera button).
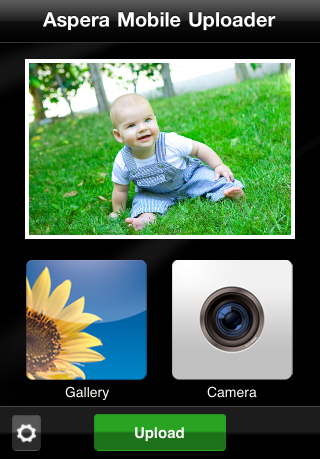
The selected photo (or icon representing a video) will show at the top of the screen.
-
Upload your image or video content to the Aspera demo server.
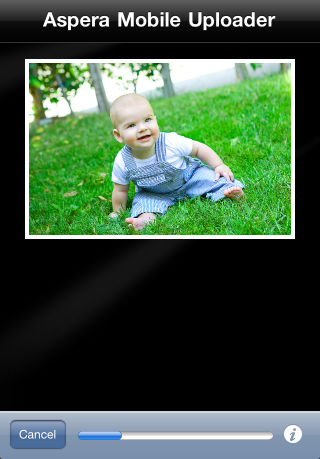
Press the Upload button to transfer ytour selected media to the Aspera demo server. A simple status indicator appears at the bottom of the screen.
 Note:
Note:Note: Your content has now been uploaded to the account you have configured. Only users (or automation processes) having proper permission to access the destination directory in your account will be able to access or view the uploaded content. The Mobile Uploader does not have options to download any of the content you have uploaded. You can connect and "browse" the directory to see the file names you have uploaded. If the server is configured to automatically move this content upon upload, the files may not remain in that directory.
-
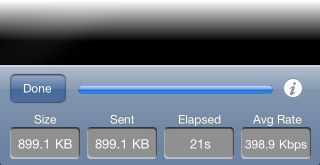
View detailed transfer information by clicking the info button.
To see detailed progress information, tap the i button at the bottom of the screen (by the status indicator). Detailed progress information includes the following:
- Photo or video size
- Amount of content uploaded to server (i.e. progress)
- Amount of content remaining
- Transfer rate
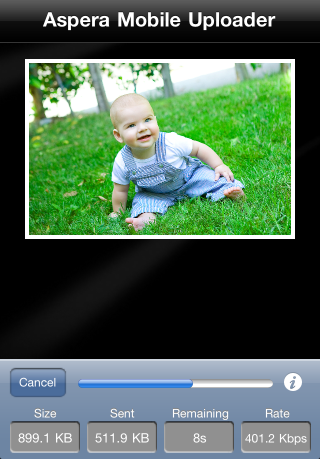
Note that if you need to abort your upload at any point, you can click the Cancel button. You will be asked to confirm cancellation or continue with the transfer.

Once your content has finished uploading, click the Done button.