Aspera strongly recommends configuring your Faspex Server settings to ensure that your data remains secure. The following steps are Aspera's recommended security settings for Faspex Server:
-
Review and update your Faspex Server security settings.
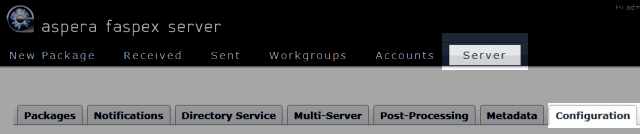
To configure Faspex Server's security settings, go to .
Under "Addresses and Ports," ensure that you are using a configurable, non-default TCP port like 33001, instead of the default TCP/22, to ensure that your server remains secure from SSH port scan attacks. Under Security, update the following settings:
- Ensure that Deactivate users is set to secure values (e.g. After 5 failed login attempts within 5 minutes)
- Ensure that Use strong passwords is turned on (checked)
-
For all Administrator accounts (existing and new), disallow login attempts from unknown IP addresses.
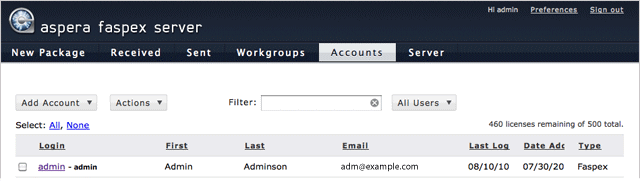
To update your Admin user permissions, go to and click the corresponding login name(s).
Within the "Edit User" screen, scroll down to the Permissions section and update the Allowed IP addresses for login: field (input specific office, home, etc. IP addresses). Be sure to click "Save" at the bottom of the page to retain your settings. Perform the same actions when adding new admin users.
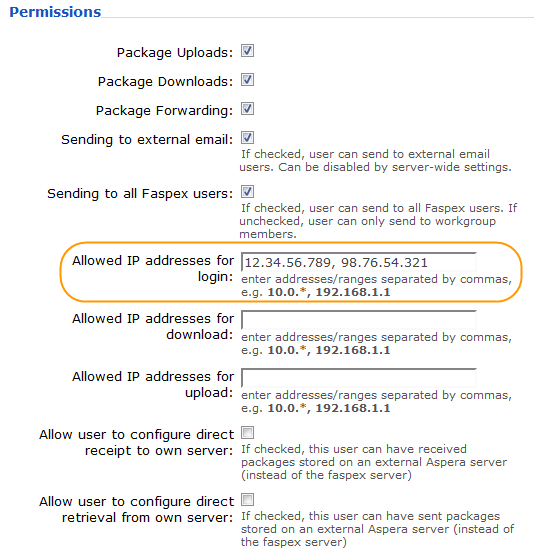
IMPORTANT NOTE: Faspex administrators have the ability to execute post-processing scripts on the server. In the event that an Administrative account is compromised, this capability can be a serious threat to your server's security. As such, Aspera strongly recommends that you update your Administrative user(s)' permissions in order to prevent unauthorized users from executing post-processing on your Faspex server.
-
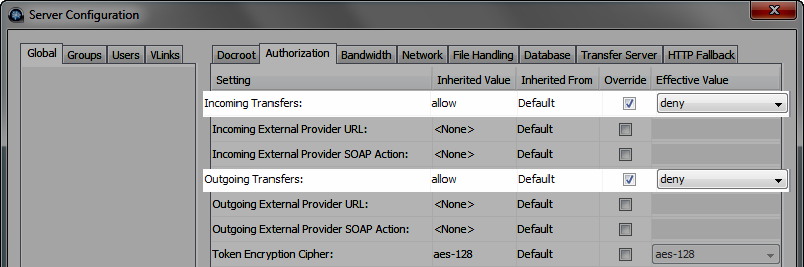
Update the Incoming Transfers and Outgoing Transfers global Authorization settings for your installation of Aspera Enterprise Server or Connect Server (either through the GUI or by editing aspera.conf)
Launch Aspera Enterprise Server via asperascp, and then select the "Configuration" button, "Global" tab, and lastly, the Authorization tab.
Override the global, default setting of "allow" for both Incoming Transfers and Outgoing Transfers, and change both settings to "deny." You can then set transfer permissions on an individual user basis via the Users tab.
 You can also modify the Incoming Transfers and Outgoing Transfers global Authorization settings within the aspera.conf file, which is located in
/opt/aspera/etc/
<default>
...
<authorization>
   <transfer>
      <in>
         <value>deny</value>       <!-- Incoming Transfer -->
      </in>
      <out>
         <value>deny</value>       <!-- Outgoing Transfer -->
      </out>
   </transfer>
...
</authorization>
...
</default>