The
information in this section assumes that you have an Aspera Enterprise Server installed,
configured, and running. For instructions and more information, see the
Aspera Enterprise Server documentation.
-
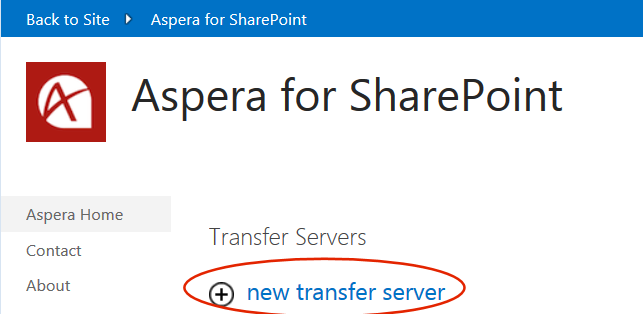
In SharePoint, go to Site Contents > Aspera for
SharePoint.
-
Under Transfer Servers, click new transfer
server
The
Create form appears:

-
Type the values for the following fields:
| Area |
Field |
Description |
| Transfer Server |
Name |
The name of the node you are mapping to. |
| |
Node Server |
The IP and port number for this node. |
| |
Node User Name |
The username for this node. You can obtain this
information from the IT administrator or other team member who
installed and configured the Aspera transfer
server.
|
| |
Node Password |
The password for this node. You can obtain this
information from the IT administrator or other team member who
installed and configured the Aspera transfer
server.
|
| File Storage |
Use local
directory or
Use Azure
storage
|
Select a storage destination for your content: either a
local directory or cloud storage. By default, Use
local directory is selected.
|
| Local Directory This area is
displayed if File Storage above is set to
Use local directory.
|
Directory |
The relative path from docroot to the directory where
your content will be stored. |
| Microsoft Azure Account This
area is displayed if File Storage above
is set to Use Azure
storage.
|
Storage Account |
The name of the Azure storage account. |
| |
Access Key |
The key for the Azure storage account. |
| |
Path |
The relative path to the storage location. |
| |
Transfer Reporting URL |
The URL for transfer reporting. |
| Document Library Connection |
Document Library Title |
Select the Document Library that you want to map to
this node. |
Once the mapping has been created, your Transfer Servers list will have a new entry
reflecting this mapping.