Creating a New Share
Note: You must be a system admin, an organization admin, or a project admin
to perform these operations.
A share is a directory and it’s contents. It is available on a node. Each share exists on one, and only one node. Shares are assigned to organizations and projects by system and organization admins. Organizations and projects can contain any number of shares.
-
Choose the path for the directory.
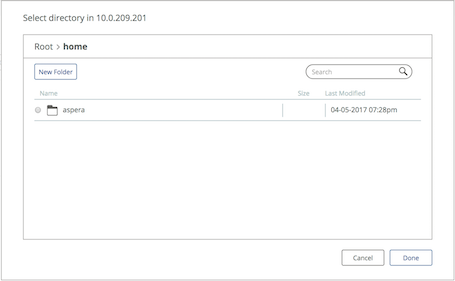
You can either enter the directory path or click Browse to navigate to and select a directory. If you click the Browse button, Shares shows you the node's file directory structure. You can navigate to or search for an existing folder, or you can create a new folder at the current location.
Once set, users with access to this share can only perform actions from within the scope of this directory.
Note: If you do not choose or enter a directory path, the directory defaults to the root directory (/).