Transferring Content
The GUI provides an easy, intuitive way to transfer content between the local computer and a remote host. In order to transfer with a remote host, first create a connection to it, as described in Adding and Editing Connections.
/ \ " : ' ? > < & * |Once a transfer is started, you can manage the transfer rate, transfer policy, and priority. For information, see Managing Transfers.
Connect and Transfer
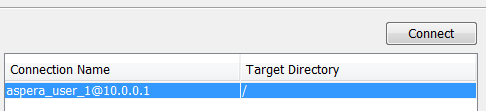
To connect to the remote host, double-click the connection in the Connection panel, or select it and click Connect. In the connections panel, the Target Directory shows a specific path if the target directory is set, or the last-visited folder if no target directory is set. For instructions on configuring the target directory, see Adding and Editing Connections.
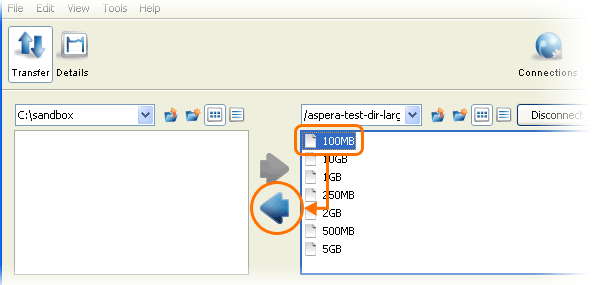
To transfer content to or from the remote computer, select the content to transfer and do any of the following:
- click the upload or download arrow
- drag and drop the files between the windows
- copy and paste the files between the windows
You can also initiate an upload using drag-and-drop from Windows Explorer to the right (remote) browser panel.
Upload Without Browsing the Remote Host
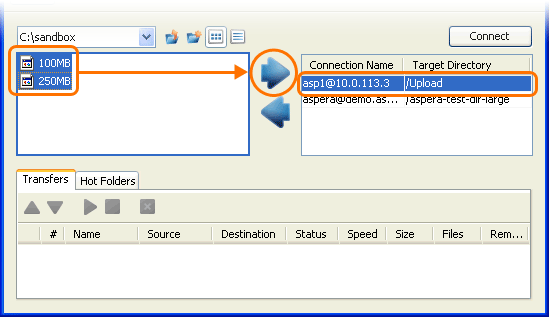
If the connection has a target directory set on the remote host (see Adding and Editing Connections), you can upload content without browsing the
remote computer. To do so, select content from the left panel (local), select the
connection name from the right panel (remote) and click  to push the content to the remote computer's target directory.