Adding Azure Node to File Storage

  1. Navigate to Server > File Storage > Add New Node from the Console menu.
  2. Fill in the following details:
    Field Description
    Name Unique name to identify the remote node.
    Use SSL To encrypt the connection to the node using SSL, enable this box. For details, see Working With SSL.
    Verify SSL Certificate To verify the SSL certificate, enable this box.
    Host The node's hostname or IP address.
    CAUTION:
    To avoid connectivity problems, do not specify a hostname that contains underscores.
    Port The node's port number.
    Username The Node API username on the node machine.
    Password The Node API password on the node machine.
    Storage type Specify whether you are connecting to a node using Windows Azure or Windows Azure SAS storage. If you are not connecting to such a node, choose Default.
    Note: For more information on adding an Azure node, see Adding Azure Node to File Storage.
  3. If you chose Windows Azure, enter your Windows Azure account credentials.
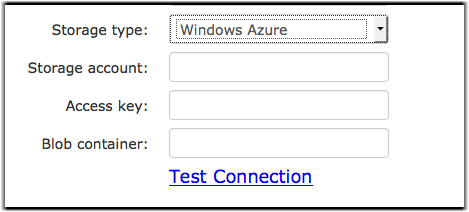
    Field Description
    Storage account The name of the storage account you want to connect to Faspex.
    Access key Your Windows Azure access key.
    Blob container The blob container that acts as the location that receives transferred files.
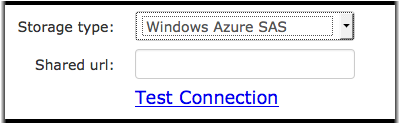
  4. If you chose Windows Azure SAS, enter your Windows Azure SAS URL.
  5. Test that the node is connected by selecting Test Connection.
  6. Optional: Expand the Advanced Configuration section to designate a primary transfer address or configure a secondary IP address to allow users to start transfers from different IP addresses.
  7. Create the node.
    • Select Create to simply create your node.
    • Select Create and Add File Storage to create your node and proceed to add file storage to your node. For more information on file storage and instructions on how to add it to your node, see Adding File Storage on your Remote Server.