Creating Console groups to manage user permissions.
In Console, the user permissions are first defined in the groups. When assigning a Console user to a group, the Console user inherits the permissions defined in the group. The group's permissions are determined by the transfer path, and access settings between specified endpoints. A transfer path consists of two endpoints, the transfer direction (one-way or two-way), and a set of permissions that authorize starting transfer, monitoring of others' transfers, and enabling email notifications. Each group can contain one or more transfer paths. In the figure below, Group 1 contains two transfer paths, #1 and #2.
A Console user inherits transfer permissions from all of the groups he or she belongs to. For example, Console User 2 belongs to both Group 1 and Group 2, and has the permissions to use transfer paths #1, #2, and #3.
Console administrators are able to view and control all transfers. They automatically inherit permissions of any existing Console groups. They can add, edit, and delete any nodes, Console users, and Console groups.
Console contains three default groups. The following table explains each group's permissions:
| Group name | Description |
|---|---|
| ALL NODES- Transfer Administrators | The users in this group can monitor, control and set up Email Notifications of all transfers on all Console nodes, start Simple and Smart Transfers between any nodes, and share the Smart Transfer templates with other users. Notice that when starting a transfer, the user can enter an arbitrary address of a node, but is not provided a list of the added Console nodes. |
| ALL NODES- Transfer Initiators | The users in this group can start Simple and Smart Transfers between any nodes. Notice that when starting a transfer, the user can enter an arbitrary address of a node, but is not provided a list of the added Console nodes. |
| ALL NODES- Transfer Monitors | The users in this group can monitor and set up Email Notifications of all transfers on all Console nodes. |
To create a new Console group, follow these steps:
-
Add a new group
From the Console menu, go to . All group management options can be found here.

In the Accounts/Groups screen, click New Group.

In the Creating New Group screen, enter the group's name and a brief description. When finished, click Create.
-
Add a Transfer Path
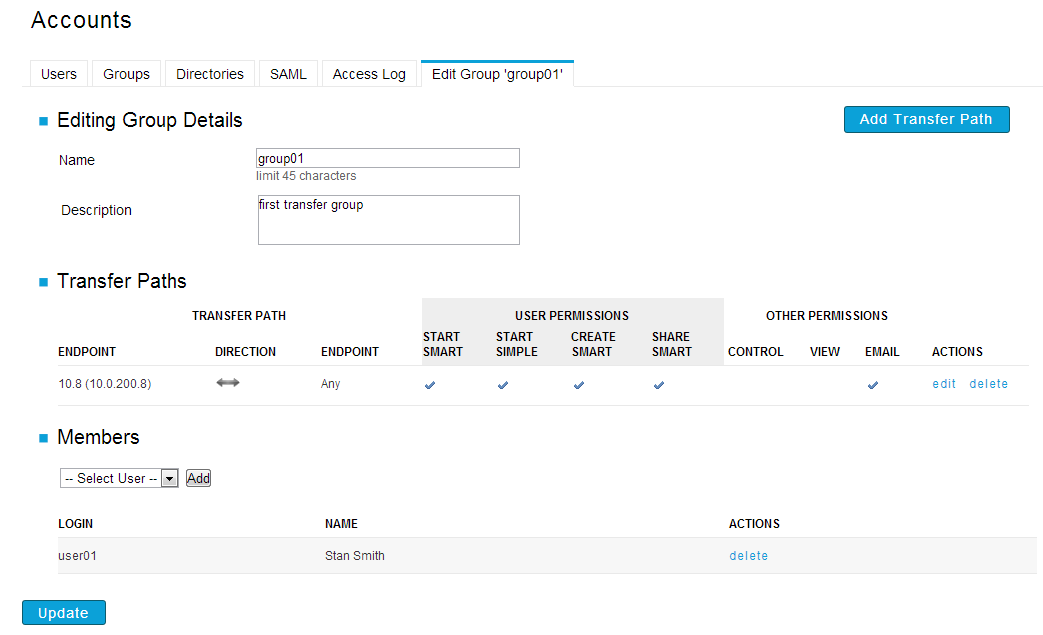
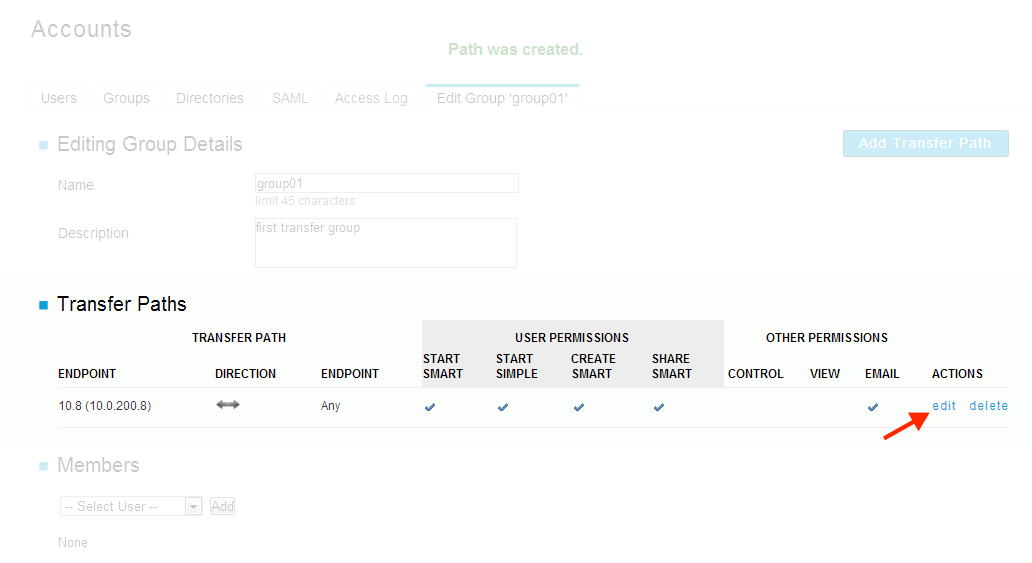
After clicking Create in the previous step, the screen changes to Editing Group Details. Click Add Transfer Path.
 Note:
Note:You can also reach the Editing Group Details screen at any time by selecting the Groups tab, then locating your group in the list, and clicking the edit link:
On the New Transfer Path screen (which you opened with Add Transfer Path), complete the form specifying the following items:
Item Description Endpoint 1 Choose an endpoint. When creating an unidirectional transfer path, select the source endpoint. Important:To allow Console to see transfers started on a node, use a wild-card as the user name in the endpoint (*@nodeAddress). If you are specifying a user in an endpoint, transfers on the endpoint can only be seen when initiated through Console.
Direction Specify the allowed transfer direction. Endpoint 2 Choose the other endpoint. Start Simple Transfers Allowed to start a simple transfer. Start Smart Transfers Allowed to start smart transfers. Create Smart Transfers Allowed to create a smart transfer template. Share Smart Transfers Share the smart transfer templates with other users. Control Transfers started by others Control other's transfers (stop, pause, set rate, etc.). View Transfers started by others View others' transfers on the same transfer paths. Opt-in to email notifications Enable email notifications of this transfer path. Description Enter a description for the endpoint. When you're finished, click Create. The Editing Group Details screen opens and you should see the new transfer path in the Transfer Paths list. To modify or remove the Transfer Path, click the transfer path's edit or delete links.
 Important:
When selecting Any as an endpoint, and starting simple or smart transfers is permitted, users can enter arbitrary addresses for file transfer.
-
Add group members
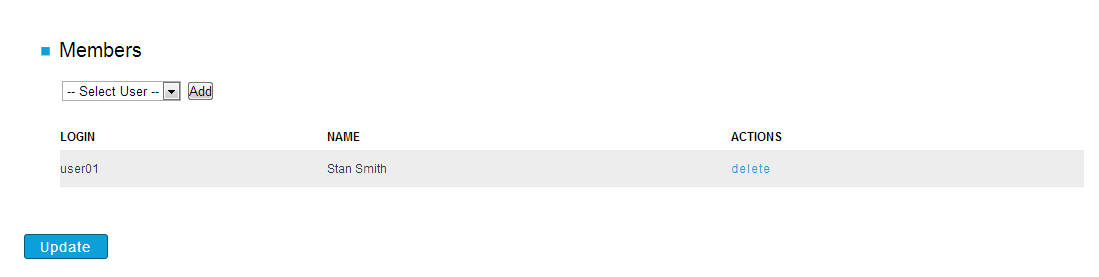
Under the Members section on the Editing Group Details screen, select a Console user from the drop-down list to add to the group, and click Add.

Alternatively, you can assign group members through user management. See Adding Console Users.
-
Review the group settings
To review all transfer paths and members in this group, go to . In the Groups list, locate the entry for the group you want to review, and click the edit link. The Accounts page will appear, displaying the group's transfer paths and members.