-
Fill in the following details:
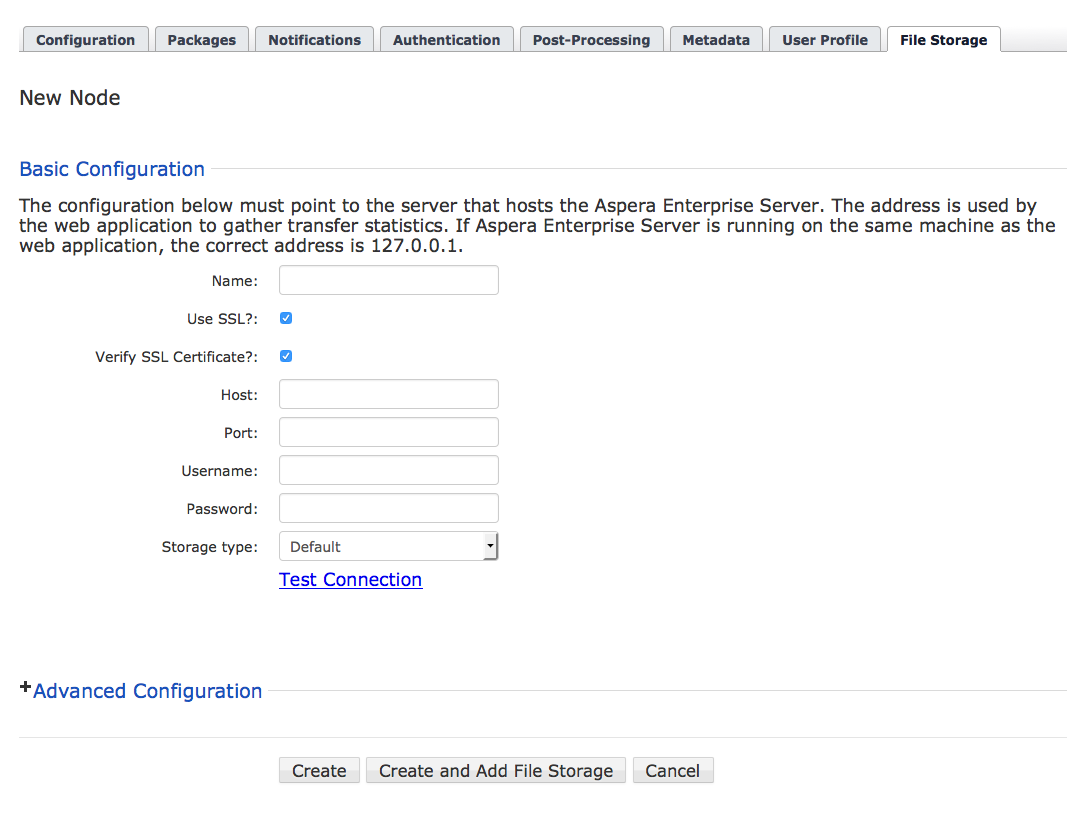
Field Description Name Unique name to identify the remote node. Use SSL To encrypt the connection to the node using SSL, enable this box. For details, see Setting up SSL for Faspex Nodes. Verify SSL Certificate To verify the SSL certificate, enable this box. Host The node's hostname or IP address. CAUTION:To avoid connectivity problems, do not specify a hostname that contains underscores.Port The node's port number. Username The node API username that was created when Aspera Enterprise or Aspera Connect Server 3.0+ was set up on the node machine. Password The node API password that was created when Aspera Enterprise or Aspera Connect Server 3.0+ was set up on the node machine. Storage type Specify whether you are connecting to a node using Windows Azure or Windows Azure SAS storage. If you are not connecting to such a node, choose Default. -
If you chose Windows Azure, enter your Windows Azure account credentials.
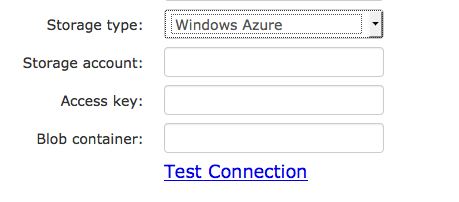
Field Description Storage account The name of the storage account you want to connect to Faspex. Access key Your Windows Azure access key. Blob container The blob container that acts as the location that will receive transferred files. -
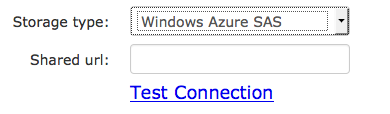
If you chose Windows Azure SAS, enter your Windows Azure SAS URL.
-
(Optional) Designate a primary transfer addres or configure a secondary IP address to allow users to start transfers from different IP addresses.
Select Advanced Configuration.

-
Create the node.

- Select Create to simply create your node.
- Select Create and Add File Storage to create your node and proceed to add file storage to your node. For more information on file storage and instructions on how to add it to your node, see Adding File Storage on your Remote Server.