From the IBM Aspera Faspex on Demand web UI, go to to configure access to the node that manages your Aspera transfers. If Faspex was installed with the streamlined option, your transfer server (the node where IBM Aspera Enterprise Server or IBM Aspera Connect Server is installed) is configured by default as being on the same machine as your Faspex Web server (by default, 127.0.0.1). When you initially view the File Storage page, you will find that the IP address or domain name is the same as that of your Web server, as shown below. On a fresh install, the default Faspex transfer server, localhost, is the only server listed on the File Storage page, and its default storage directory, packages, is shown as the default inbox destination.
If Faspex was installed with the detailed option, your transfer server (the node where Enterprise Server or Connect Server Server is installed) is configured to be a remote server. When you initially view the File Storage page, you will find that the IP address or domain name is that of your remote server, as shown below. On a fresh install, the remote Faspex transfer server is the only server listed on the File Storage page. In this case, the default storage directory, packages, will not be functional until valid node admin credentials (empty by default) are entered for the remote server.
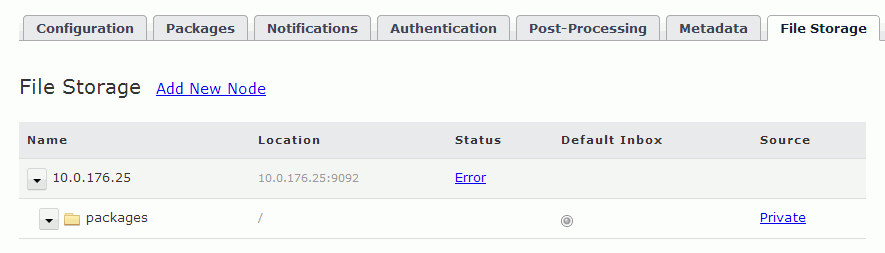
In the above display, you will also see a summary of sources (from where files are sent) and inboxes (where received files are stored). For details on inboxes and file storage, see Adding File Storage on your Remote Server.
To configure a different machine as your transfer server, click the Add New Node link, which takes you to the New Node configuration screen:
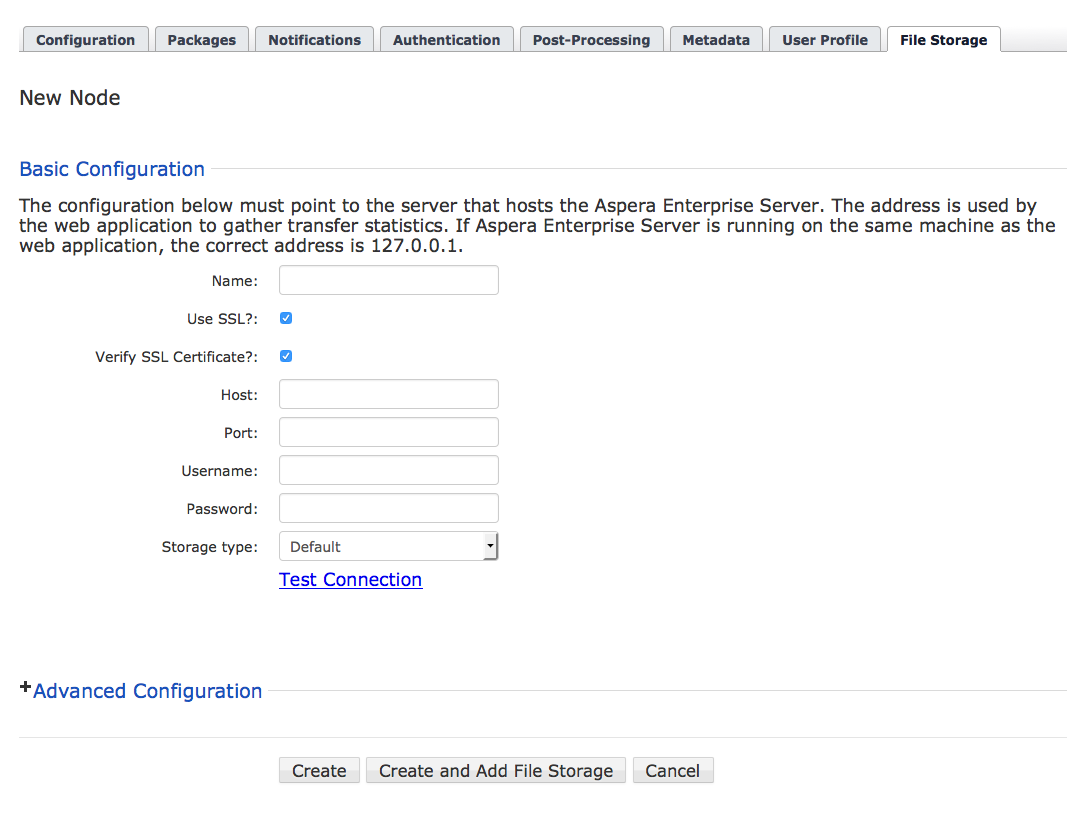
For instructions on how to configure your new node, see the Add New Node to File Storage.