Aspera On Demand comes with two preconfigured system/transfer accounts, xfer and
xfer2, and their associated node API accounts. This topic describes how to create
additional system/transfer accounts. The procedure below assumes the following:
- You have created an S3 bucket.
- You know your S3 access ID and secret key.
- You know how to SSH as root to your instance of Aspera On Demand.
-
Add a system/transfer account as described in Add AMI System and Transfer Users.
Note that the version of Console included with Aspera On Demand has been
enhanced to facilitate management of system/transfer accounts and groups. In
particular, when you add a system/transfer user, it automatically creates the OS
account in the AMI.
-
Configure the transfer account with an S3 docroot as described in Enabling S3 Storage.
-
Create an API node user for the transfer account.
Log into the AMI as root. To create the node API user, run the
asnodeadmin command as follows:
# /opt/aspera/bin/asnodeadmin -a -u node_api_user -p password -x xfer_user
For example:
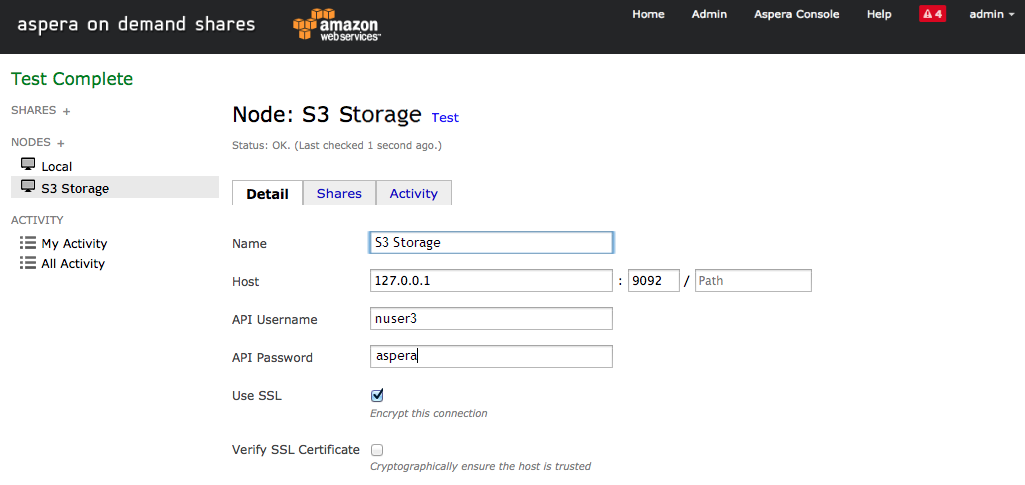
# /opt/aspera/bin/asnodeadmin -a -u nuser3 -p aspera -x xfer3
This creates the node API user nuser3 with the password aspera,
and maps nuser3 to the transfer user xfer3.
-
Restart the node service.
Run asperanoded as
root:
# /etc/init.d/asperanoded restart
-
Test your configuration.
See step 7 "Test your configuration" in of Enabling S3 Storage.
To use Shares to add a
new node, set API username and password with the newly created node API user
credentials. For example, using the node API user and password created
above: