You need to add system/transfer users on the Aspera AMI to allow the fasp transfer connection with the user account. Each entity, including the user account and the system groups, can be further assigned with the specialized transfer settings, such as the docroot, bandwidth, and the authentication method. This section shows you how to add the system/transfer users and groups through the Aspera On Demand Console.
The Console that comes with Aspera On Demand has been enhanced to facilitate easy transfer-account user management. When you add system/transfer users, On Demand Console creates the system users in the Aspera AMI instance.
To help get things started, we have created two default accounts, xfer and xfer2, which you can use for your own transfers. You can also create your own accounts.
All new accounts added through On Demand Console are automatically added to the aspusers group. All members of that group will be configured with a document root in the /mnt/ephemeral/data/$username folder on your server. If you want to configure an existing account for access to S3, see "Enabling S3 Storage." If you want to add a new account that will use S3 storage, see Adding a Transfer User with S3 Storage.
-
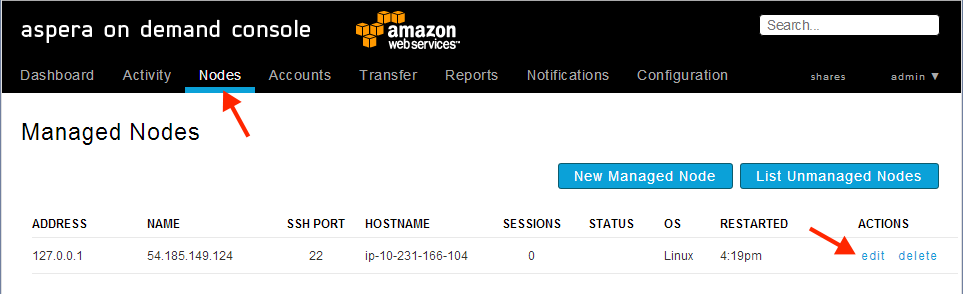
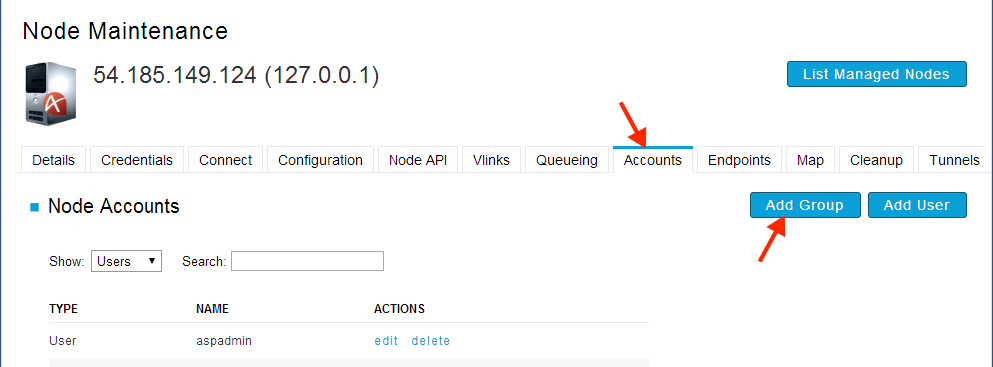
Open the On Demand server's node maintenance page.
In On Demand Console, click Nodes. The Managed Nodes page appears. In the 127.0.0.1 entry, click the edit link. The Node Maintenance page appears.
- Create a system/transfer user.
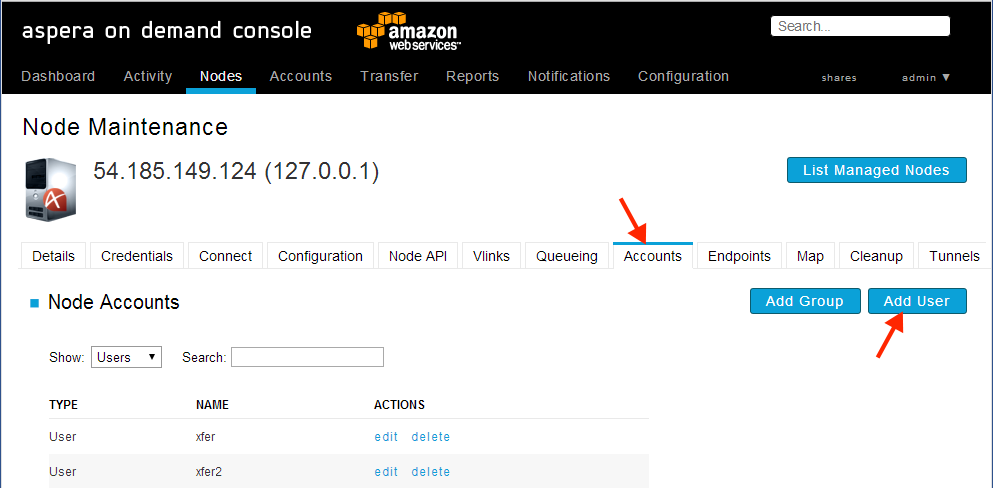
On the Node Maintenance page, open the Accounts tab. The Node Accounts page appears, displaying a listing of all accounts on this node. Click Add User.
On the Creating New User page, enter the login information for the system/transfer user. When done, click Create. The system/transfer user account is added to the aspusers group automatically.
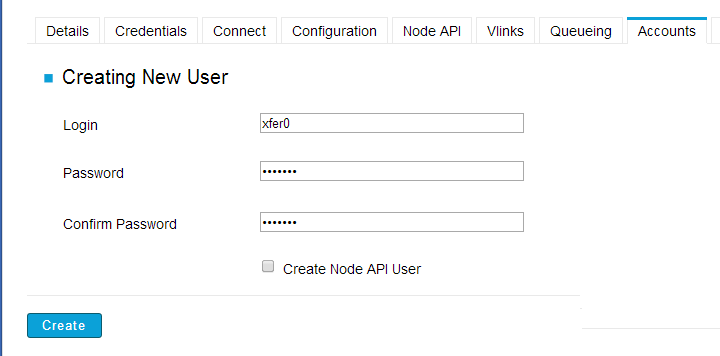
Optionally, if you also want to create a Node API user associated with this system user, check the Create Node API User box. The Node API user will have the same name and password as the system user. System users created with an associated Node API user are identified in the Node Accounts listing (Nodes > edit > Accounts tab) as "User + Node API User" in the TYPE column.
Changing the password for this type of system user also changes the password for the corresponding Node API user. To change the password, click the edit link for the account in the Node Accounts listing. On the page that opens, click the Change Password link.
Deleting a "User + Node API User" account removes both the system user and the Node API user. To delete, click the delete link for the user in the Node Accounts listing.
Important: If you select the Node API user option, the system user should be used only in web applications. -
Create a system/transfer group
Before adding a system/transfer group in Console, you must create the group in the AMI system. Once created, add the group to Console: from the Node Maintenance page (Nodes > edit), open the Accounts tab, and click Add Group.
On the Creating New Group page, enter the group name and click Create.
-
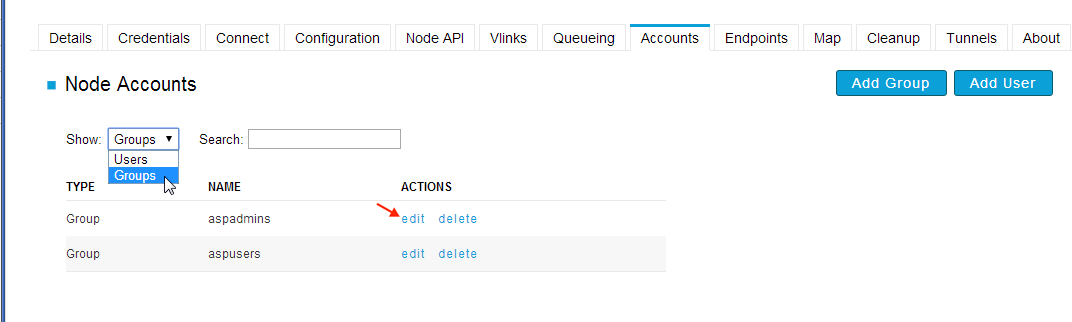
Edit the system/transfer user and group
You can configure the fasp transfer settings specifically for a system/transfer user or group. To do so, on the Node Maintenance page, open the Accounts tab. Under Node Accounts, select whether to show Users or Groups. Then click edit in the user or group entry you wish to modify.