Aspera On Demand products support the ability to use S3 as storage. This topic steps you through the process of modifying your Aspera On Demand to support this option. The steps below assume the following:
- You have purchased and booted up your Aspera On Demand product
- You have created an S3 bucket
- You know your S3 Access ID and Secret Key
- You know how to SSH as root to your Aspera On Demand instance
-
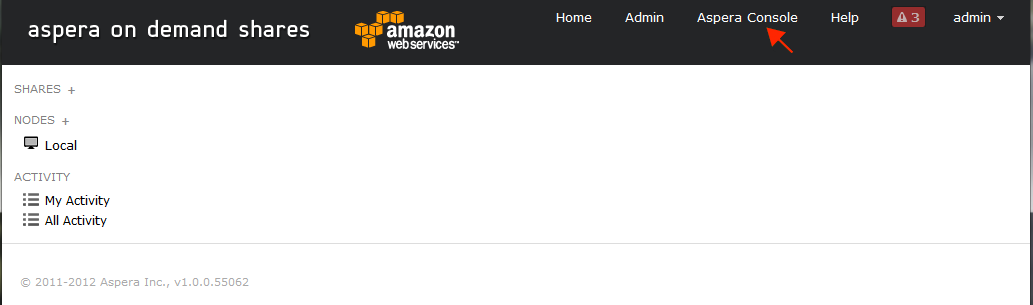
Log in to Shares On Demand as the user admin and open the
management console.
. After logging in as admin (the initial account provided with your AOD instance), open the management console by clicking on the Aspera Console link at the top of the screen.
-
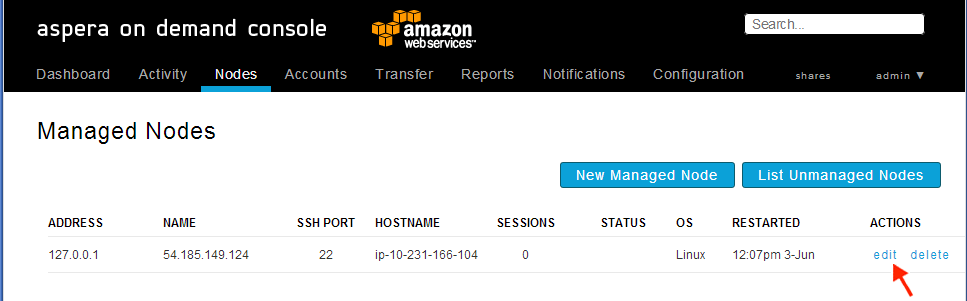
Log into Console and open the Nodes tab.
The default login is admin and the default password is the instance ID. After logging in, open the Nodes tab and click the edit button for the node.
-
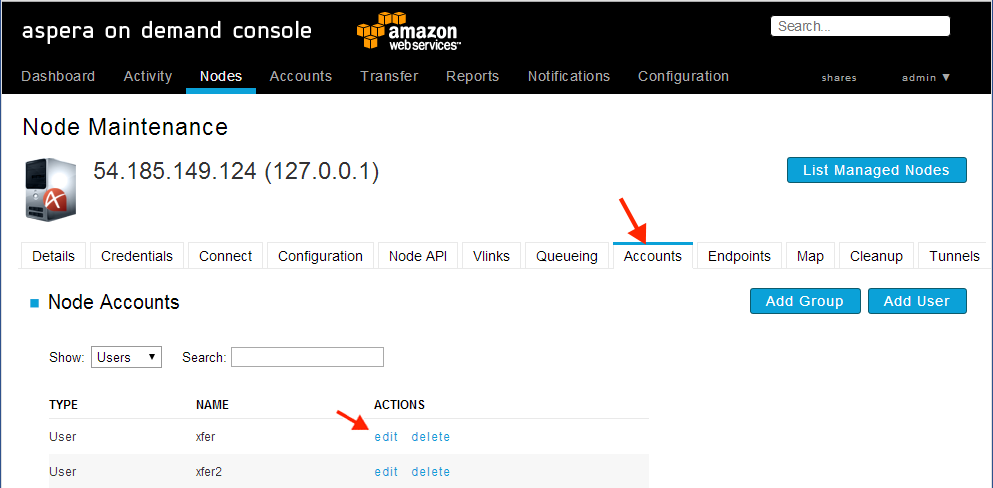
Add the S3 docroot to your node.
Open the Node Accounts tab and click on the edit button for the account you want to configure with the S3 access. In this example we are using the existing xfer2 user. If you prefer, you can also create a new account by clicking on the Add User button. For information on how to add new to add a new account with S3 storage, see Adding a Transfer User with S3 Storage.
Add the S3 docroot for that user using the following syntax:
S3://access_id:secret_key@s3.amazonaws.com/my_bucket/my_path
If your S3 Access ID or secret key contains characters known as reserved or unsafe, use URL encoding (also known as percent encoding) for these characters. For example, encode a slash character ( / ) by replacing it with %2F and a plus character ( + ) by replacing it with %2B.
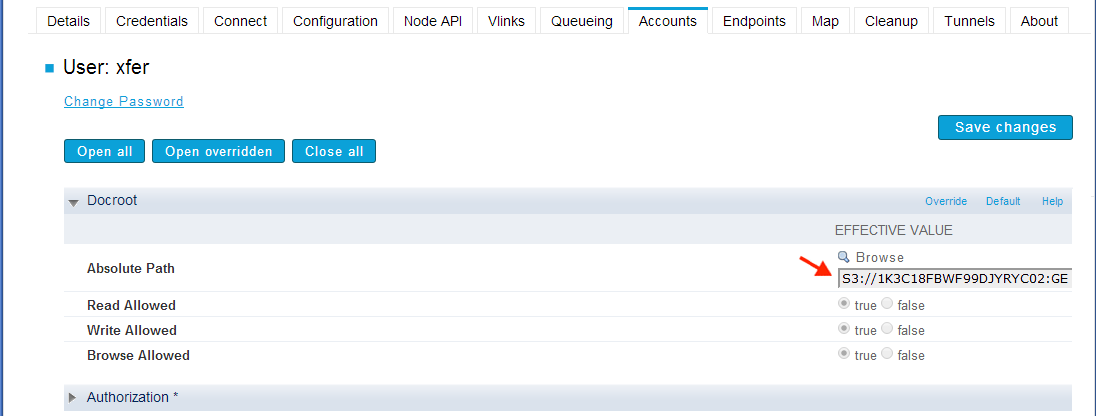
Click on the Save Changes button.
Note: If you wish to avoid specifying S3 storage credentials in a docroot, there is an alternative approach to setting S3 docroots that uses AWS Identity and Access Management (IAM) roles. For details, see Setting an S3 Docroot Using an IAM Role. -
Test your configuration.
If you have licensed Aspera Server On Demand, you can perform a test transfer using an Aspera client to the account that was configured with the S3 docroot in Step 3.
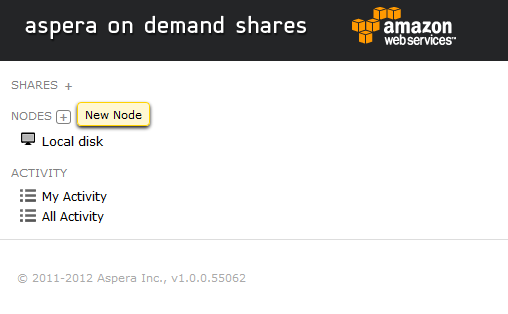
If you have licensed the Application platform with Shares, you need to configure your new S3 node within Shares. To do so, log into Shares as Admin, and add a new node by clicking on the + symbol next to the NODES menu heading.
Then, input the underlined settings depicted in the screenshot below. Note that the API password for xfer2 is the Instance ID.
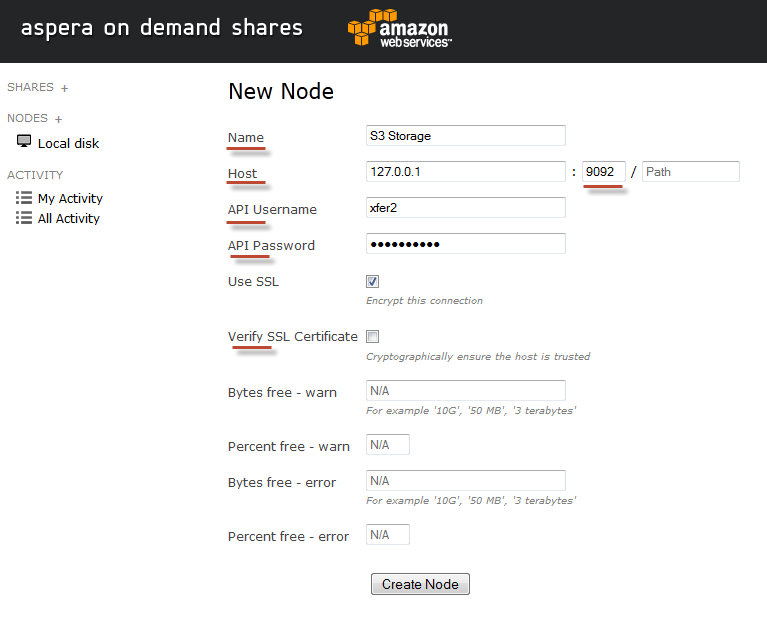
Field Description Name A description of the node. Host The node computer's hostname or IP address, along with a port and path (if applicable). The "port" field represents the port on which the node service is running; which, by default, is 9092. The "path" field is an advanced feature used for URL proxying. In nearly all cases, you may leave this field blank. API Username The node API username that you created when you set up Enterprise Server on your node machine. Note that this user is kept in the redis database for authentication between the Shares application and the node service. API Password The node API password that you created when you set up Enterprise Server on your node machine. Use SSL To encrypt the connection to the node using SSL, enable this box. Although the node is configured to use Aspera's pre-installed, self-signed certificate (/opt/aspera/etc/aspera_server_cert.pem), you can use your own certificate by replacing the files located in the following directories: - /opt/aspera/shares/conf/cert.key
- /opt/aspera/shares/conf/cert.pem
To generate a new certificate, follow the instructions provided in the topic Generate an SSL Certificate and use the OpenSSL command-line binary (/opt/aspera/shares/bin/openssl).
Note: After generating a new certificate, you must create a cert.pem file that contains both the private key and the certificate. To do so, copy and paste the entire body of the private key file and the certificate file into a single text file -- for example, my_cert.pem.
Verify SSL Certificate To verify the SSL certificate, enable this box. Bytes free - warn If you would like to receive a warning message when the node has equal to or less than a certain number of storage bytes free, then enter that number into this field. You can input the number as G, MB, terrabytes and bytes. Percent free - warn If you would like to receive a warning message when the node has equal to or less than a certain percent of its storage free, then enter that percentage into this field. Bytes free - error If you would like to receive an error message when the node has equal to or less than a certain number of storage bytes free, then enter that number into this field. You can input the number as G, MB, terrabytes and bytes. Percent free - error If you would like to receive an error message when the node has equal to or less than a certain percent of its storage free, then enter that percentage into this field. Click the Create Node button when finished.
-
Verify the S3 storage node.
To verify the new node, go to Home and click the S3 Storage node.
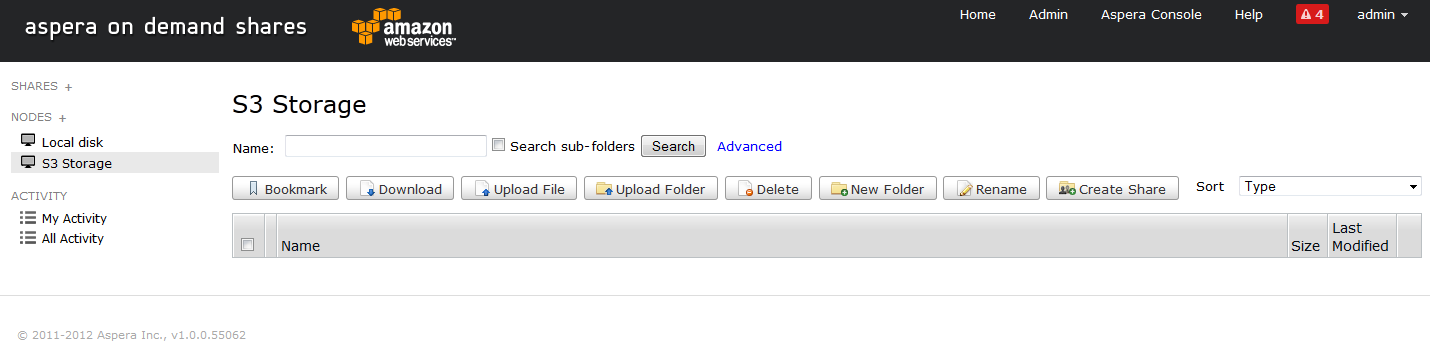
Finally, confirm that you are able to access the contents of your S3 bucket.
For additional instructions on using Shares, please view the Shares On Demand Admin Guide.