The Aspera server uses your system accounts to authenticate connections from remote clients. The system users must be added and configured as Aspera transfer users before remote clients can run FASP transfers with the server. When creating transfer users, you may also specify user-specific settings, such as transfer bandwidth, docroot, and file handling.
Follow the steps below to configure a system user account as an Aspera transfer user.
-
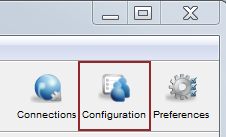
Click Configuration to open the configuration settings
window.
-
Add a system user to your Aspera server.
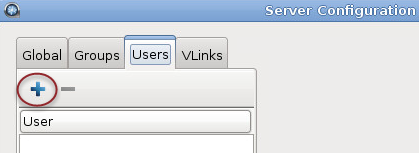
In Server Configuration, select the Users tab and click the
 button to add a new user.
In the Add User dialog, enter the username, then click OK.
Note: Usernames cannot contain the "@" symbol, except when using the user@domain format. For additional information, see Product Limitations. -
Set the user's docroot.
You can limit a user's access to a given directory using the document root (docroot). The docroot can be set for individual users, groups, and globally.
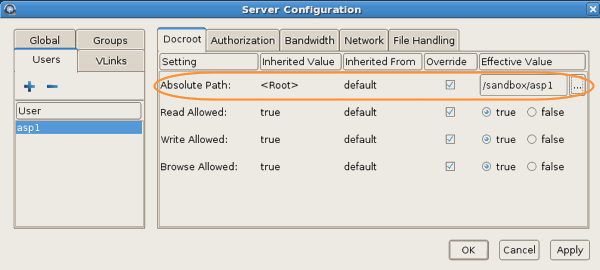
Individual user docroot: In the user's Docroot tab (Configuration > Users >username > Docroot), select the Override box for Absolute Path and enter or select an existing path as the user's docroot -- for example, /sandbox/aspera_user_1. Make sure that at least the Read Allowed and Browse Allowed are set to true. When finished, click OK or Apply.
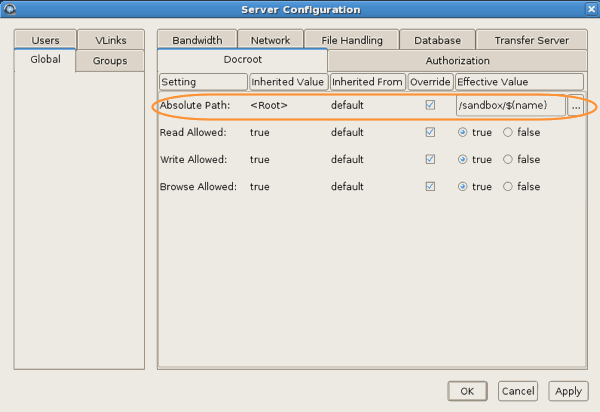
Global docroot: To set up a global docroot, in the Server Configuration window, click the Global tab. In the Docroot tab, select the Override box and enter the docroot into the Absolute Path field. This value will be duplicated in all user settings.
If there is a pattern in the docroot of each user, for example, /sandbox/username, you can use a substitutional string. This allows you to assign an independent docroot to each user without setting it individually for each user.
Substitutional String Definition Example $(name) system user's name /sandbox/$(name) $(home) system user's home directory $(home)/Documents