This topic demonstrates how to send a Faspex package using the Aspera Add-in for Microsoft Outlook. Note that the screenshots in this example are from a Windows 7 system with Office 2007 installed. Your screens may look slightly different depending on your setup.
-
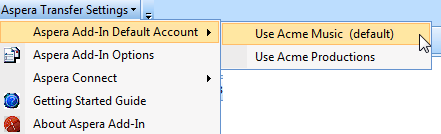
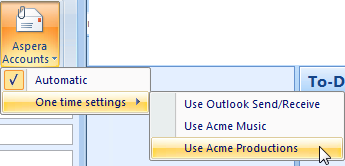
Identify your default account for sending Faspex packages.
Before creating a new email, go to and select your default Faspex account for sending new messages. Note that if you only have one account set up in the Aspera Add-in, then it will automatically be the default for sending Faspex packages.
-
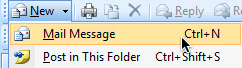
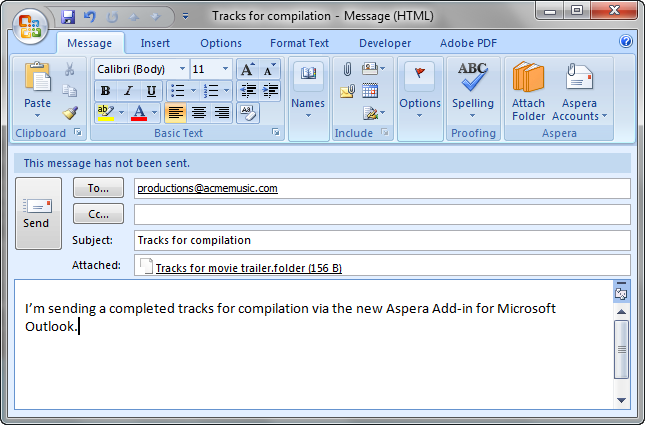
Compose email.
Create a new email in Microsoft Outlook by going to in Outlook's main window.
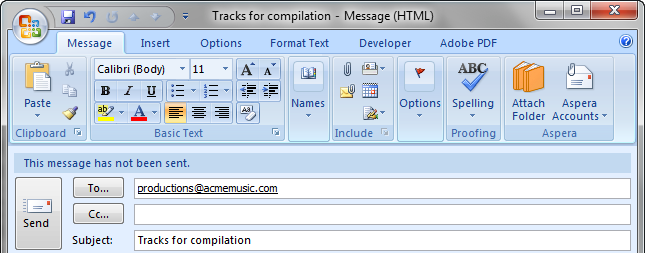
A new message window will appear (which we have addressed and added a subject to, in the example below).
-
Confirm your Aspera message- and attachment-transfer settings.
Click the Aspera Accounts button to confirm your message- and attachment-transfer settings. Here, you have two options:
- Automatic: The Aspera Add-in will automatically follow the default rules. If your email message does not contain folder attachments, does not contain file extensions identified as being Faspex-specific and the total attachment size is below the configured threshold, then the email and attachments will be sent through Outlook's default transfer protocol. Otherwise, the email and attachments will be sent through the default Faspex account (selected in Step #1, above).
- One time settings: Override the Aspera Add-in's default/automatic rules and send your message via Outlook Send/Receive or via a configured Faspex account.
-
Select file(s) or folder(s) to transfer.
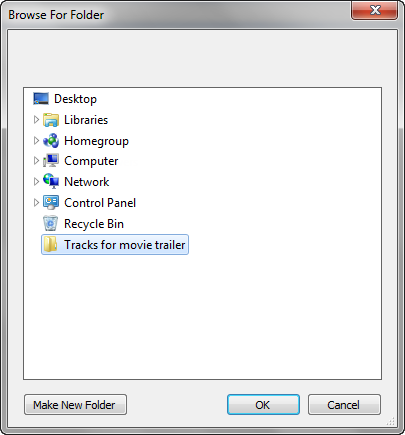
Click the Microsoft Outlook attachment icon (paper clip) or the Attach Folder button in the Aspera menu (located in ribbon).

You will then be prompted to browse for either the folder or file attachment.
 You can also drag-and-drop files into the e-mail message to attach them.Note: This doesn't apply to folders.
After selecting an item, you will see it listed as an attachment in your email draft.
-
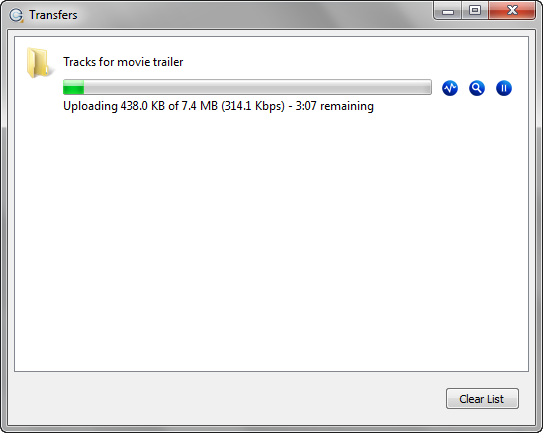
Monitor your transfer using Aspera Connect.
Microsoft Outlook will connect to your configured Faspex Server and attempt to transfer your package. As the package is transferring, the Transfers window will appear. For additional information on the functions available from this window, please refer to the topic "Monitoring Transfers."
As the package is transferring, your recipient will receive an email notification.
-
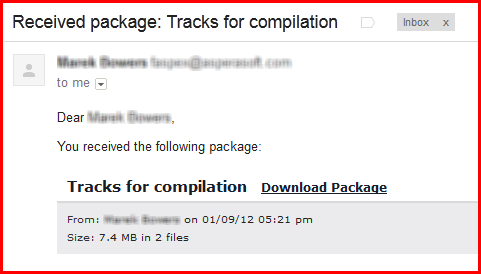
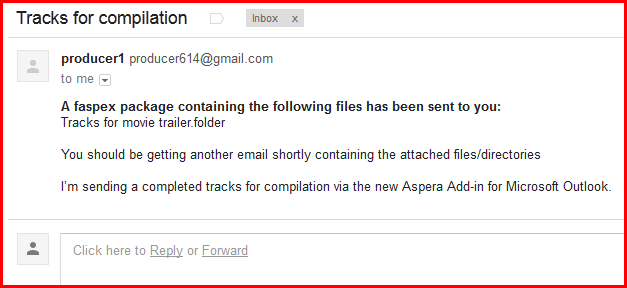
Recipient is alerted to download package.
Once the package has finished transferring, your recipient will receive a notification with retrieval instructions.